Fin Construction
The fin design I came up with.
Sustainer
![]()
Booster

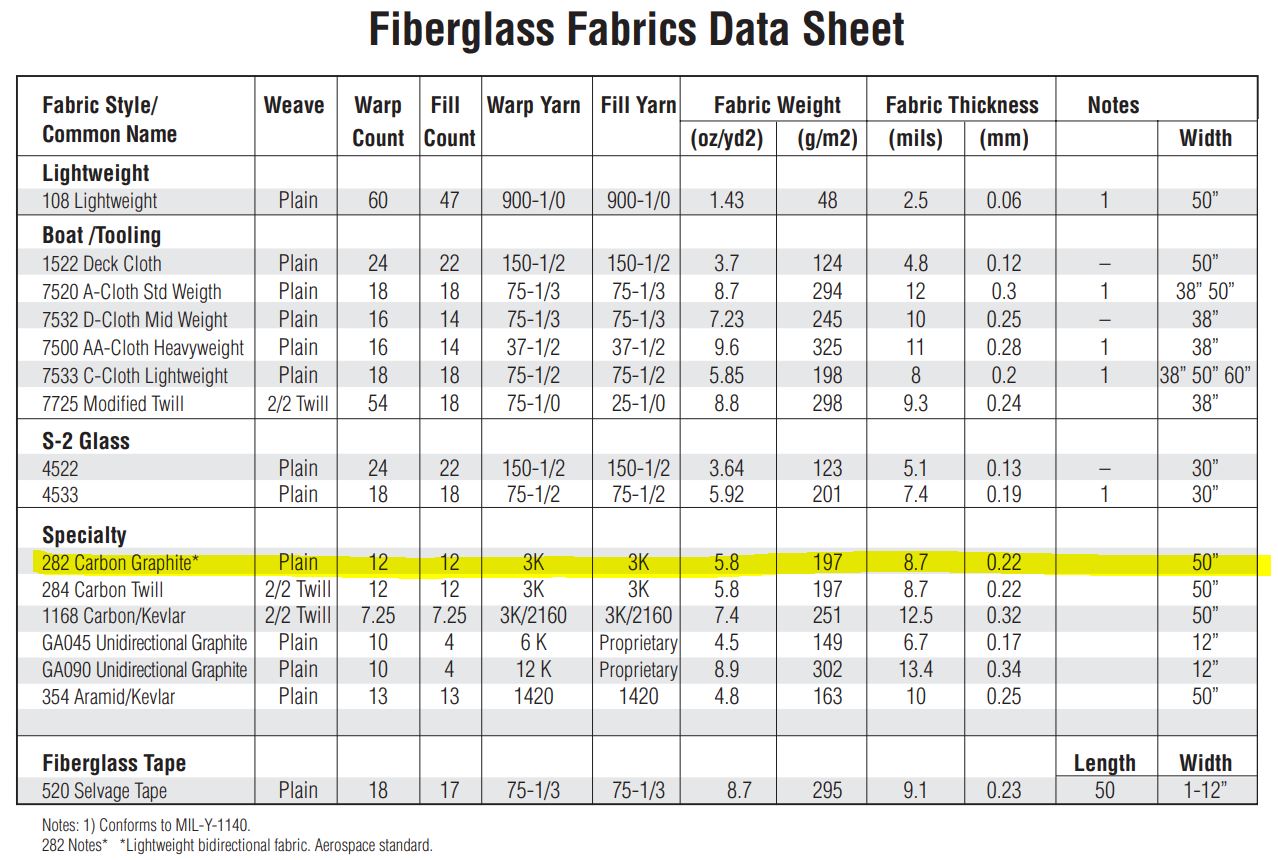
The fins start with an inner core of G-10 fiberglass. This would be covered with a single layer of carbon fiber. The G-10 pieces I had on hand were 12"x12" squares. I used a single 12"x12" square of 0.093" thick G-10 for the sustainer fins and 2 squares of 0.125" thick G-10 for the booster fins. The size of the G-10 pieces influenced the fin shape and size.
Carbon fiber notes.
I debated whether to use a twill verses a plain weave. The twill weave typically has a bit more strength and the fabric is more flexible for various contours than the plain weave. The plain weave fabric is a bit stiffer and and the weave doesn't deform a much as the twill as you hold it before applying it. On other composite projects I used a twill weave fabric and even with great care, I had the cut edges of the fabric start to fray and unweave as I applied it.
I chose to go with the plain weave for this project. The strength difference wasn't that much different from the twill but the fabric is easier to work with in this case. The carbon fiber I'm using is type 282 I picked up from Tap Plastics.

The plan is to have a total of 4 carbon fiber layers in the fins. One layer will be attached to the G-10 fin and the other three layers will be the fin tip-to-tip lay up after the fins are attached to the airframe. I want each layer to be rotated 45 degrees from the next layer. The outer layer I wanted the weave to run parallel to the airframe which means the layer on the G-10 needs to be at a 45 degree angle. So the layers will be G-10, CF @ 45 degree, CF @ 90 degree, CF @ 45 degree, CF @ 90 degree.
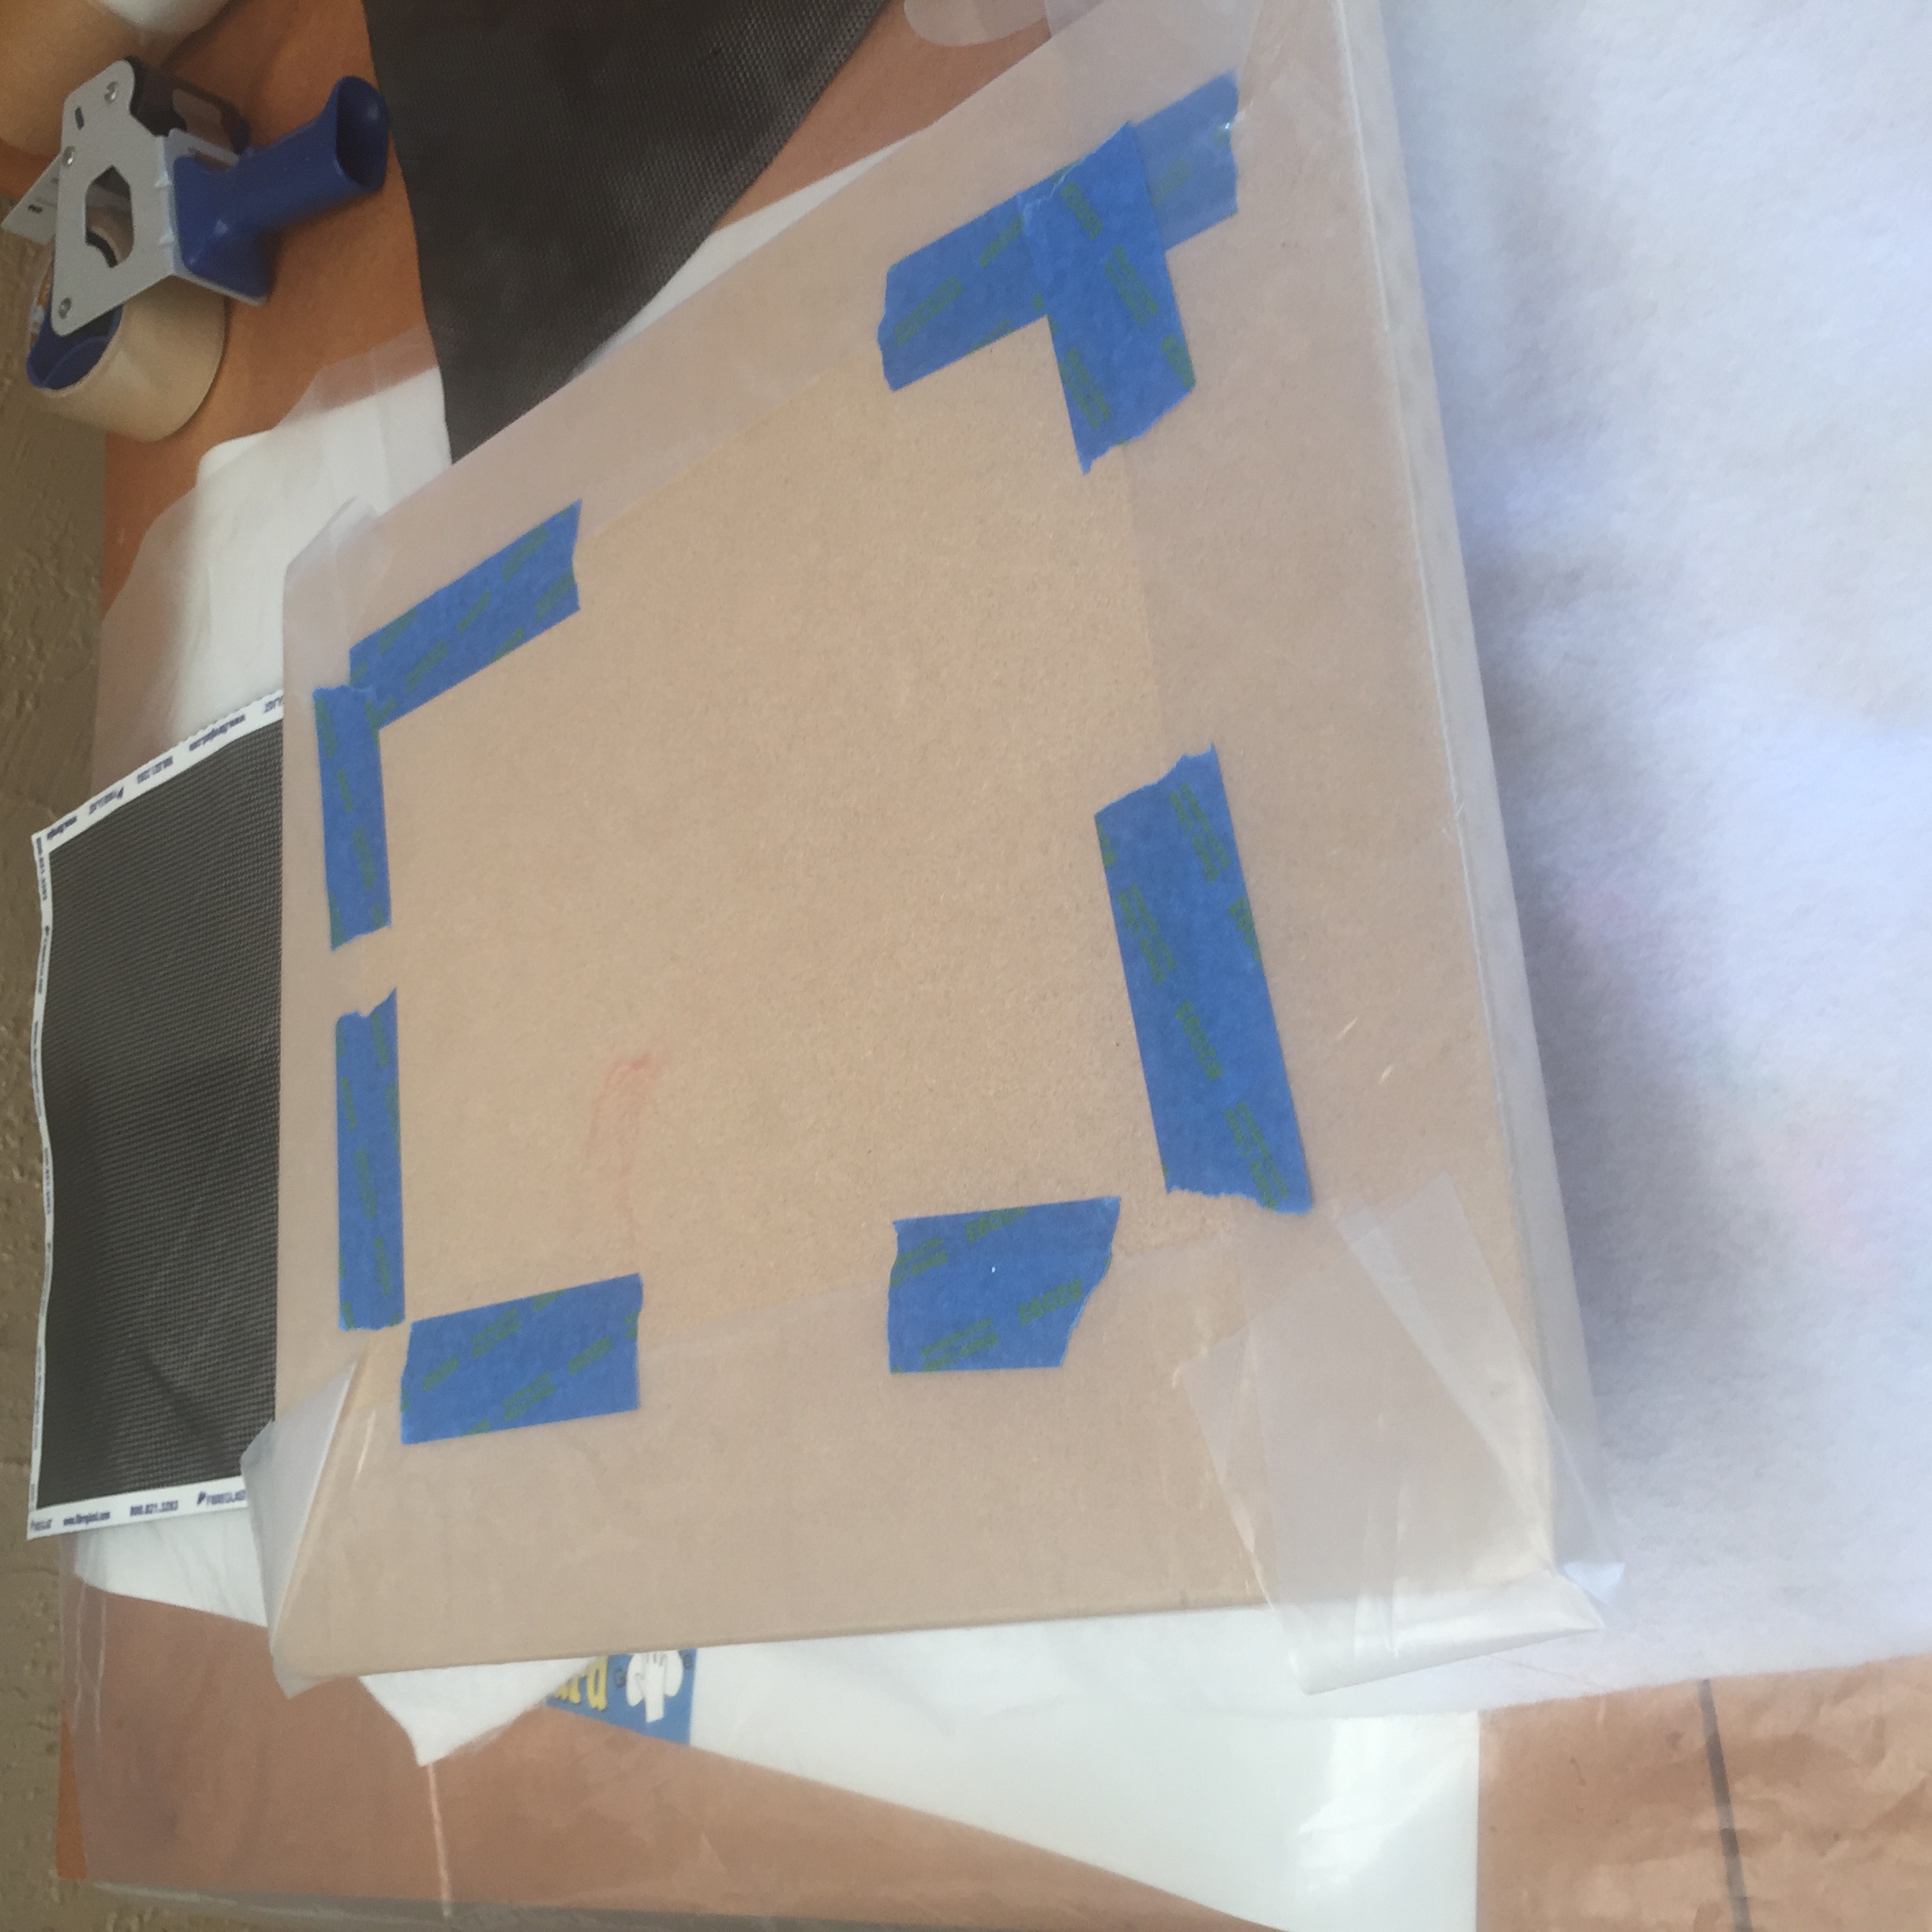
A side note, I thought I'd try the Fiberglast "Perfect Line Tape" instead of my regular blue 3M tape to keep the weave in place while I cut the fabric. It seems that the "Perfect Line Tape" has a little less tack/stickiness than the blue tape.
Here I'm cutting out the carbon fiber. The fiber weave will be at 45 degrees. I use the G-10 square as a pattern then apply the tape around and cut the fabric piece.

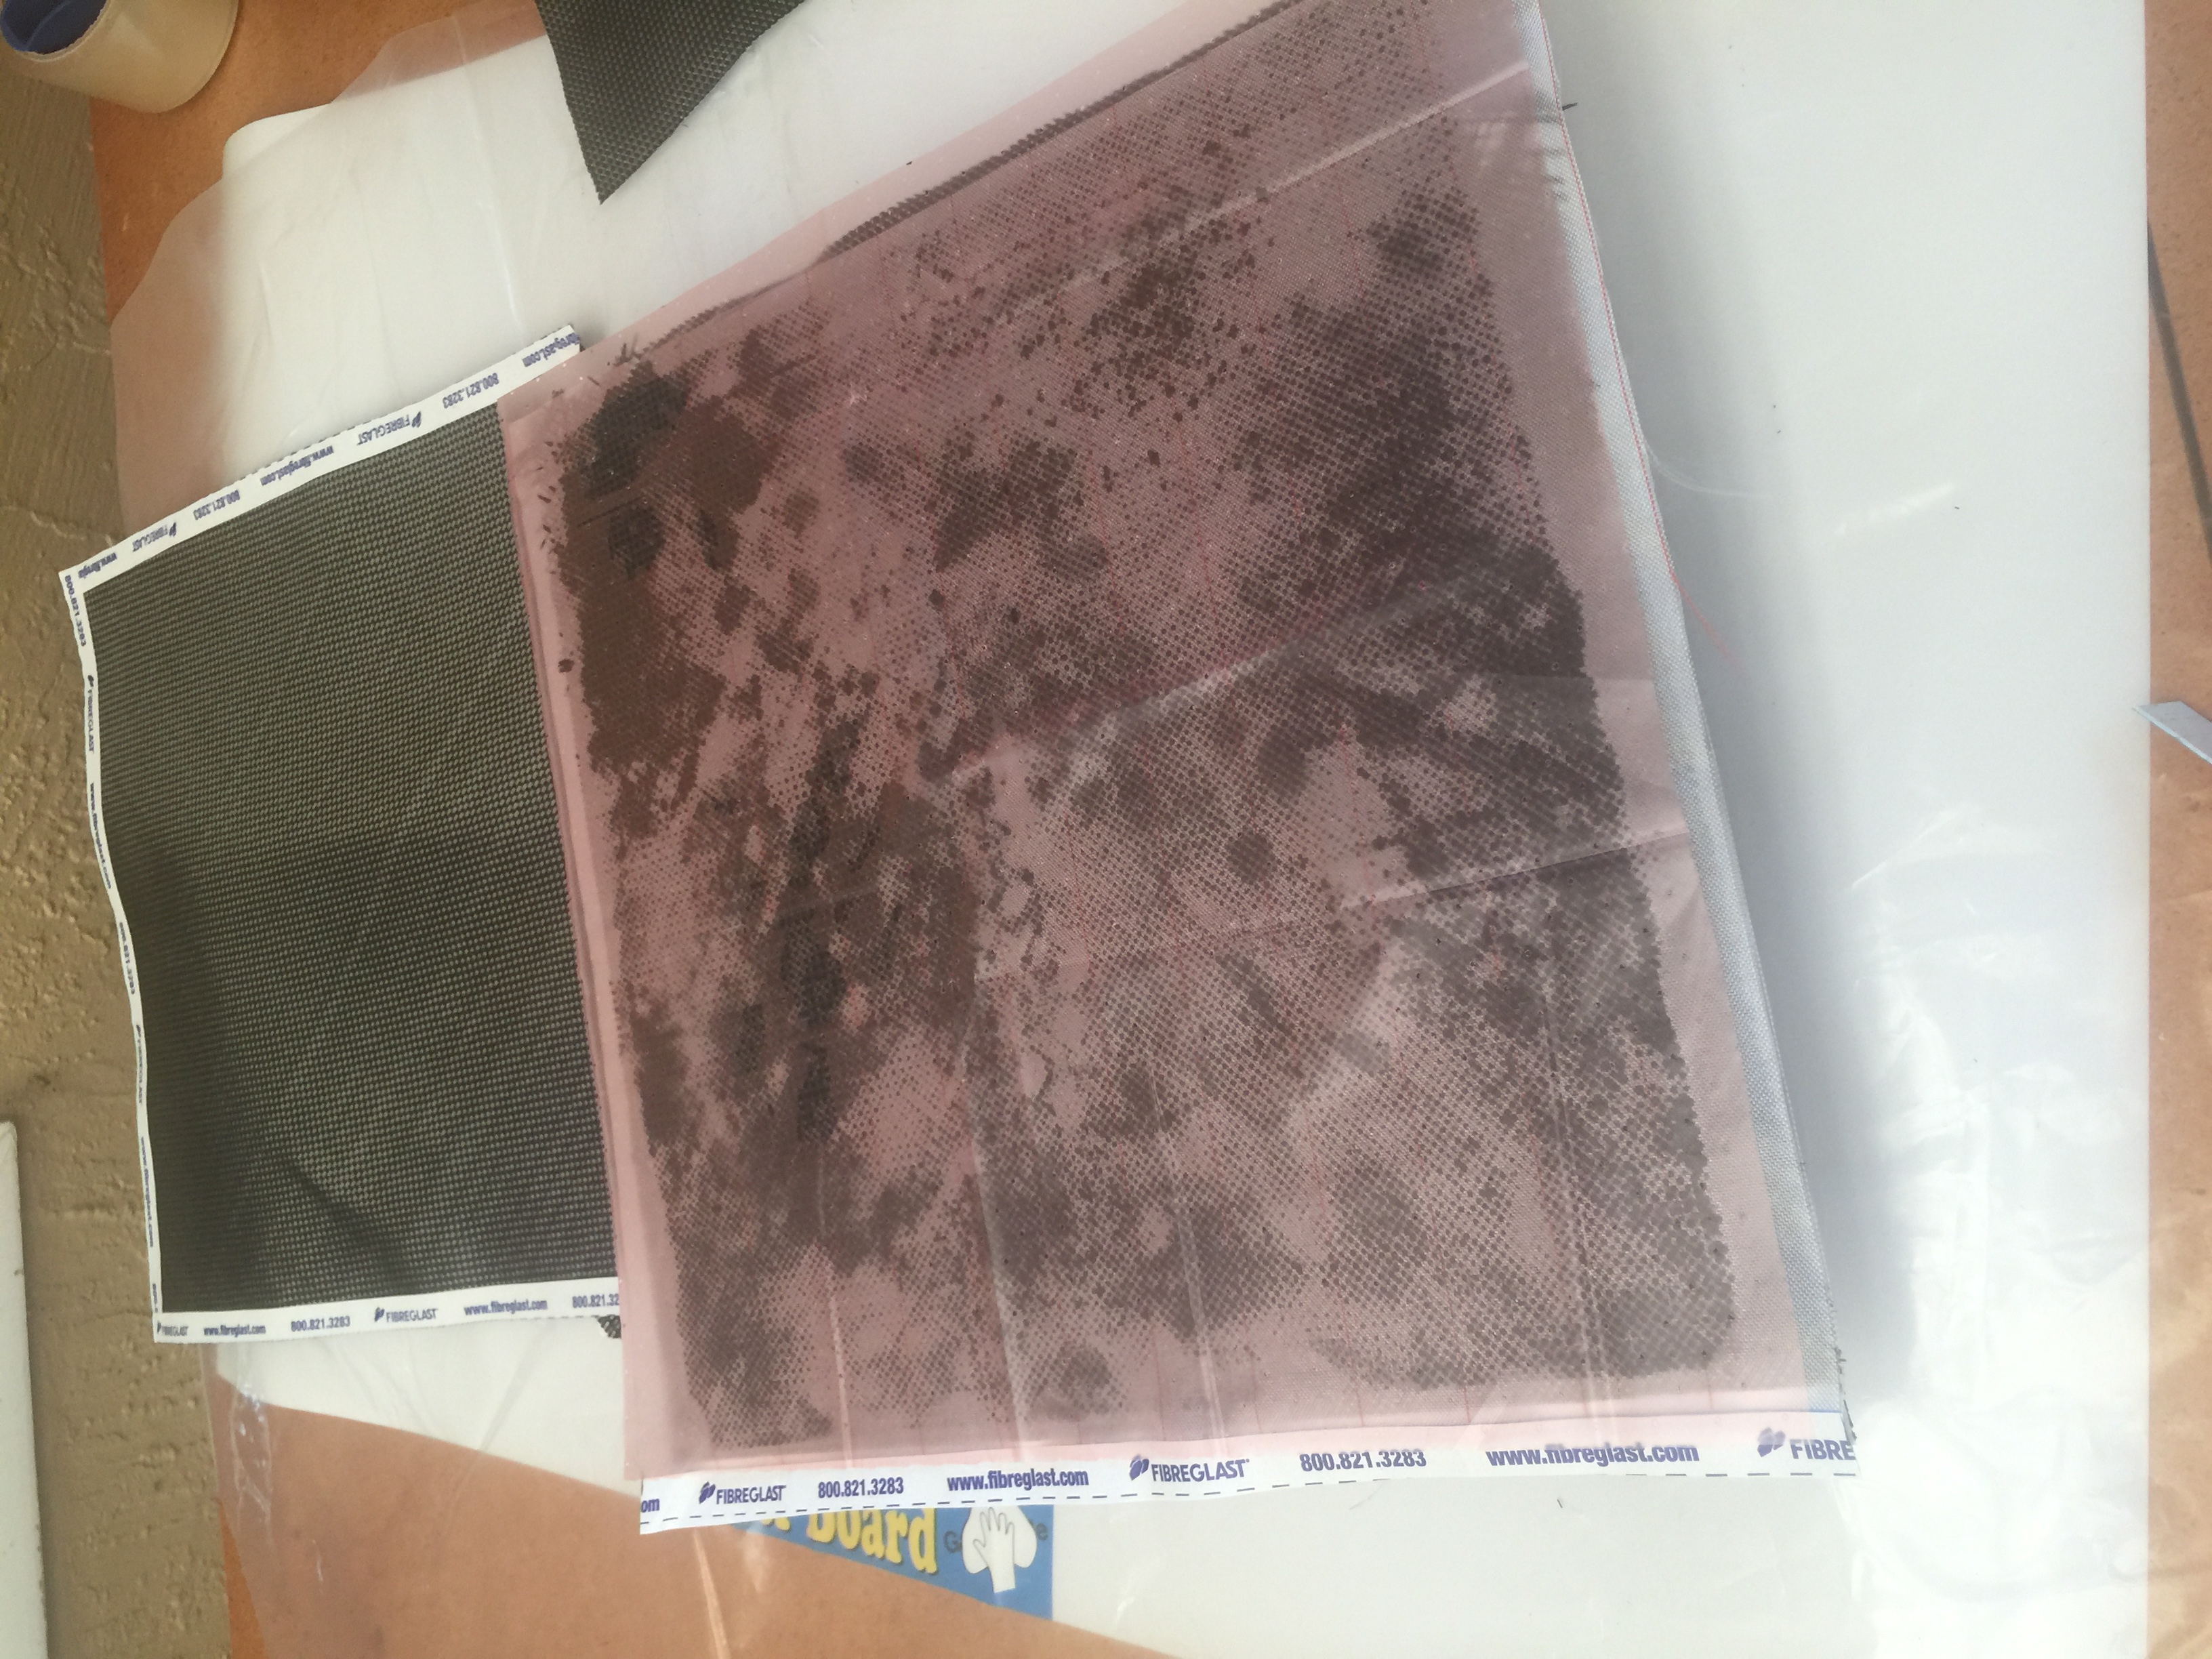
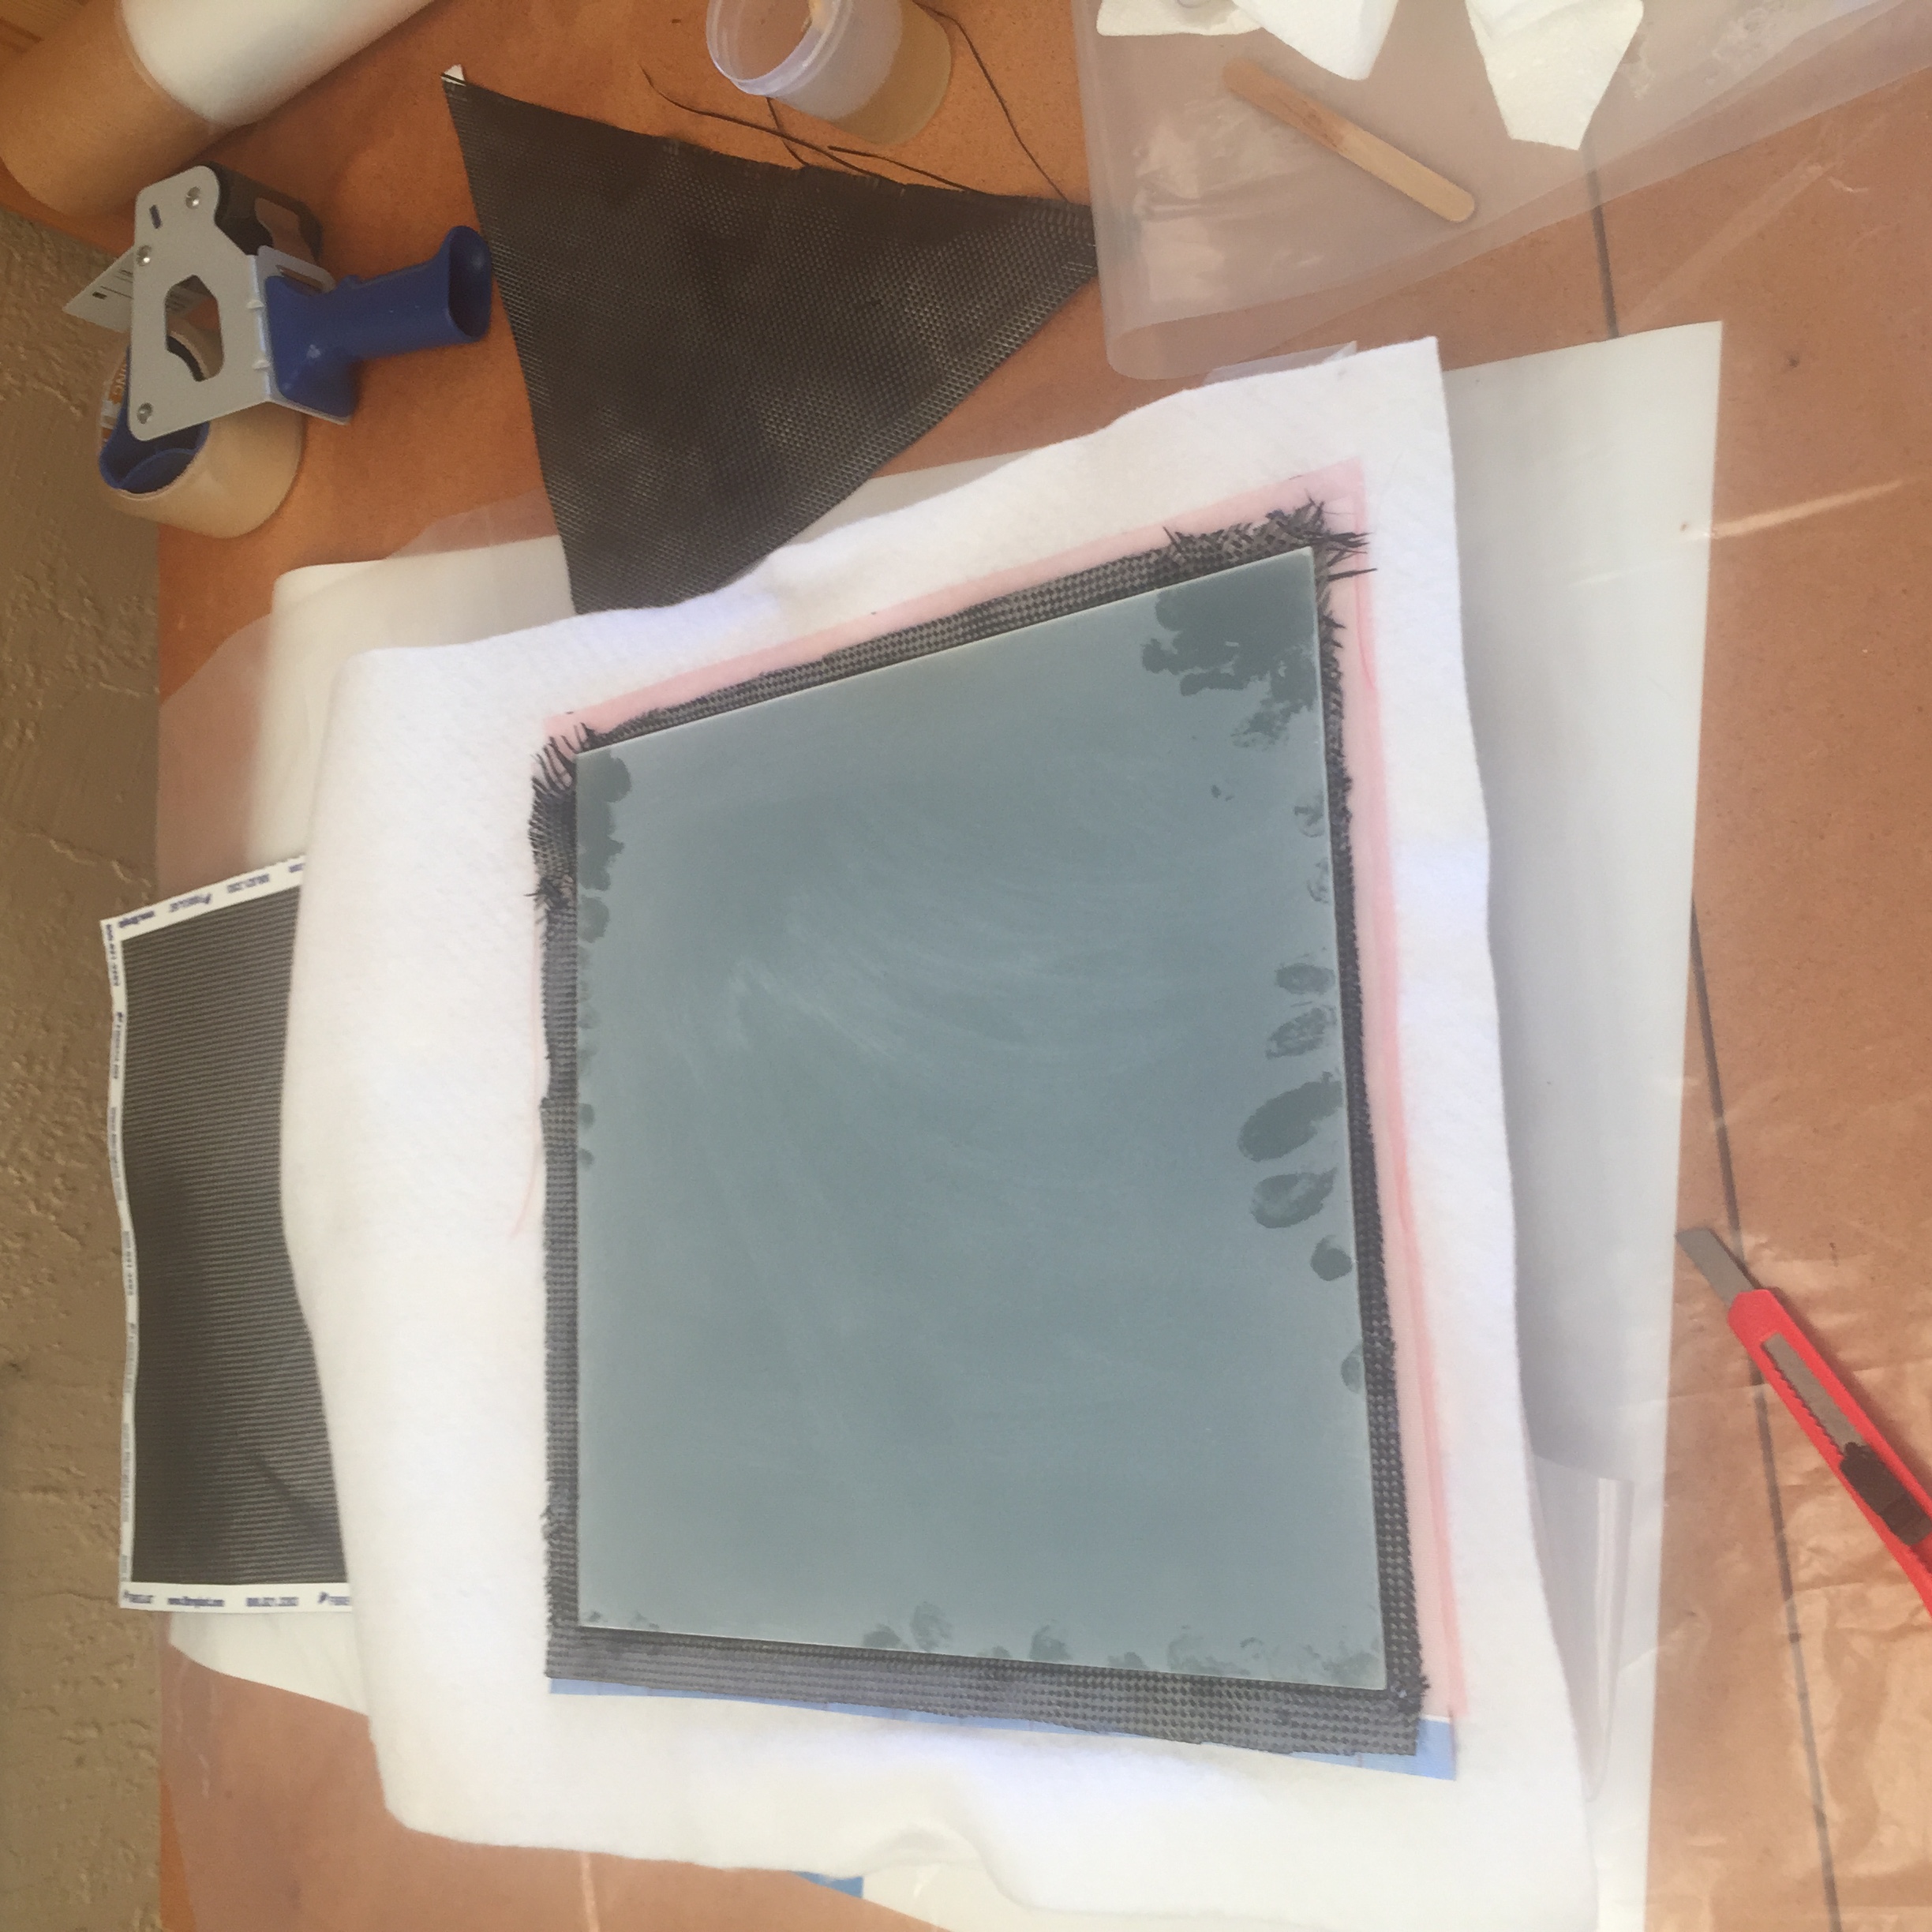
The layup will look like this when I insert it on the bag

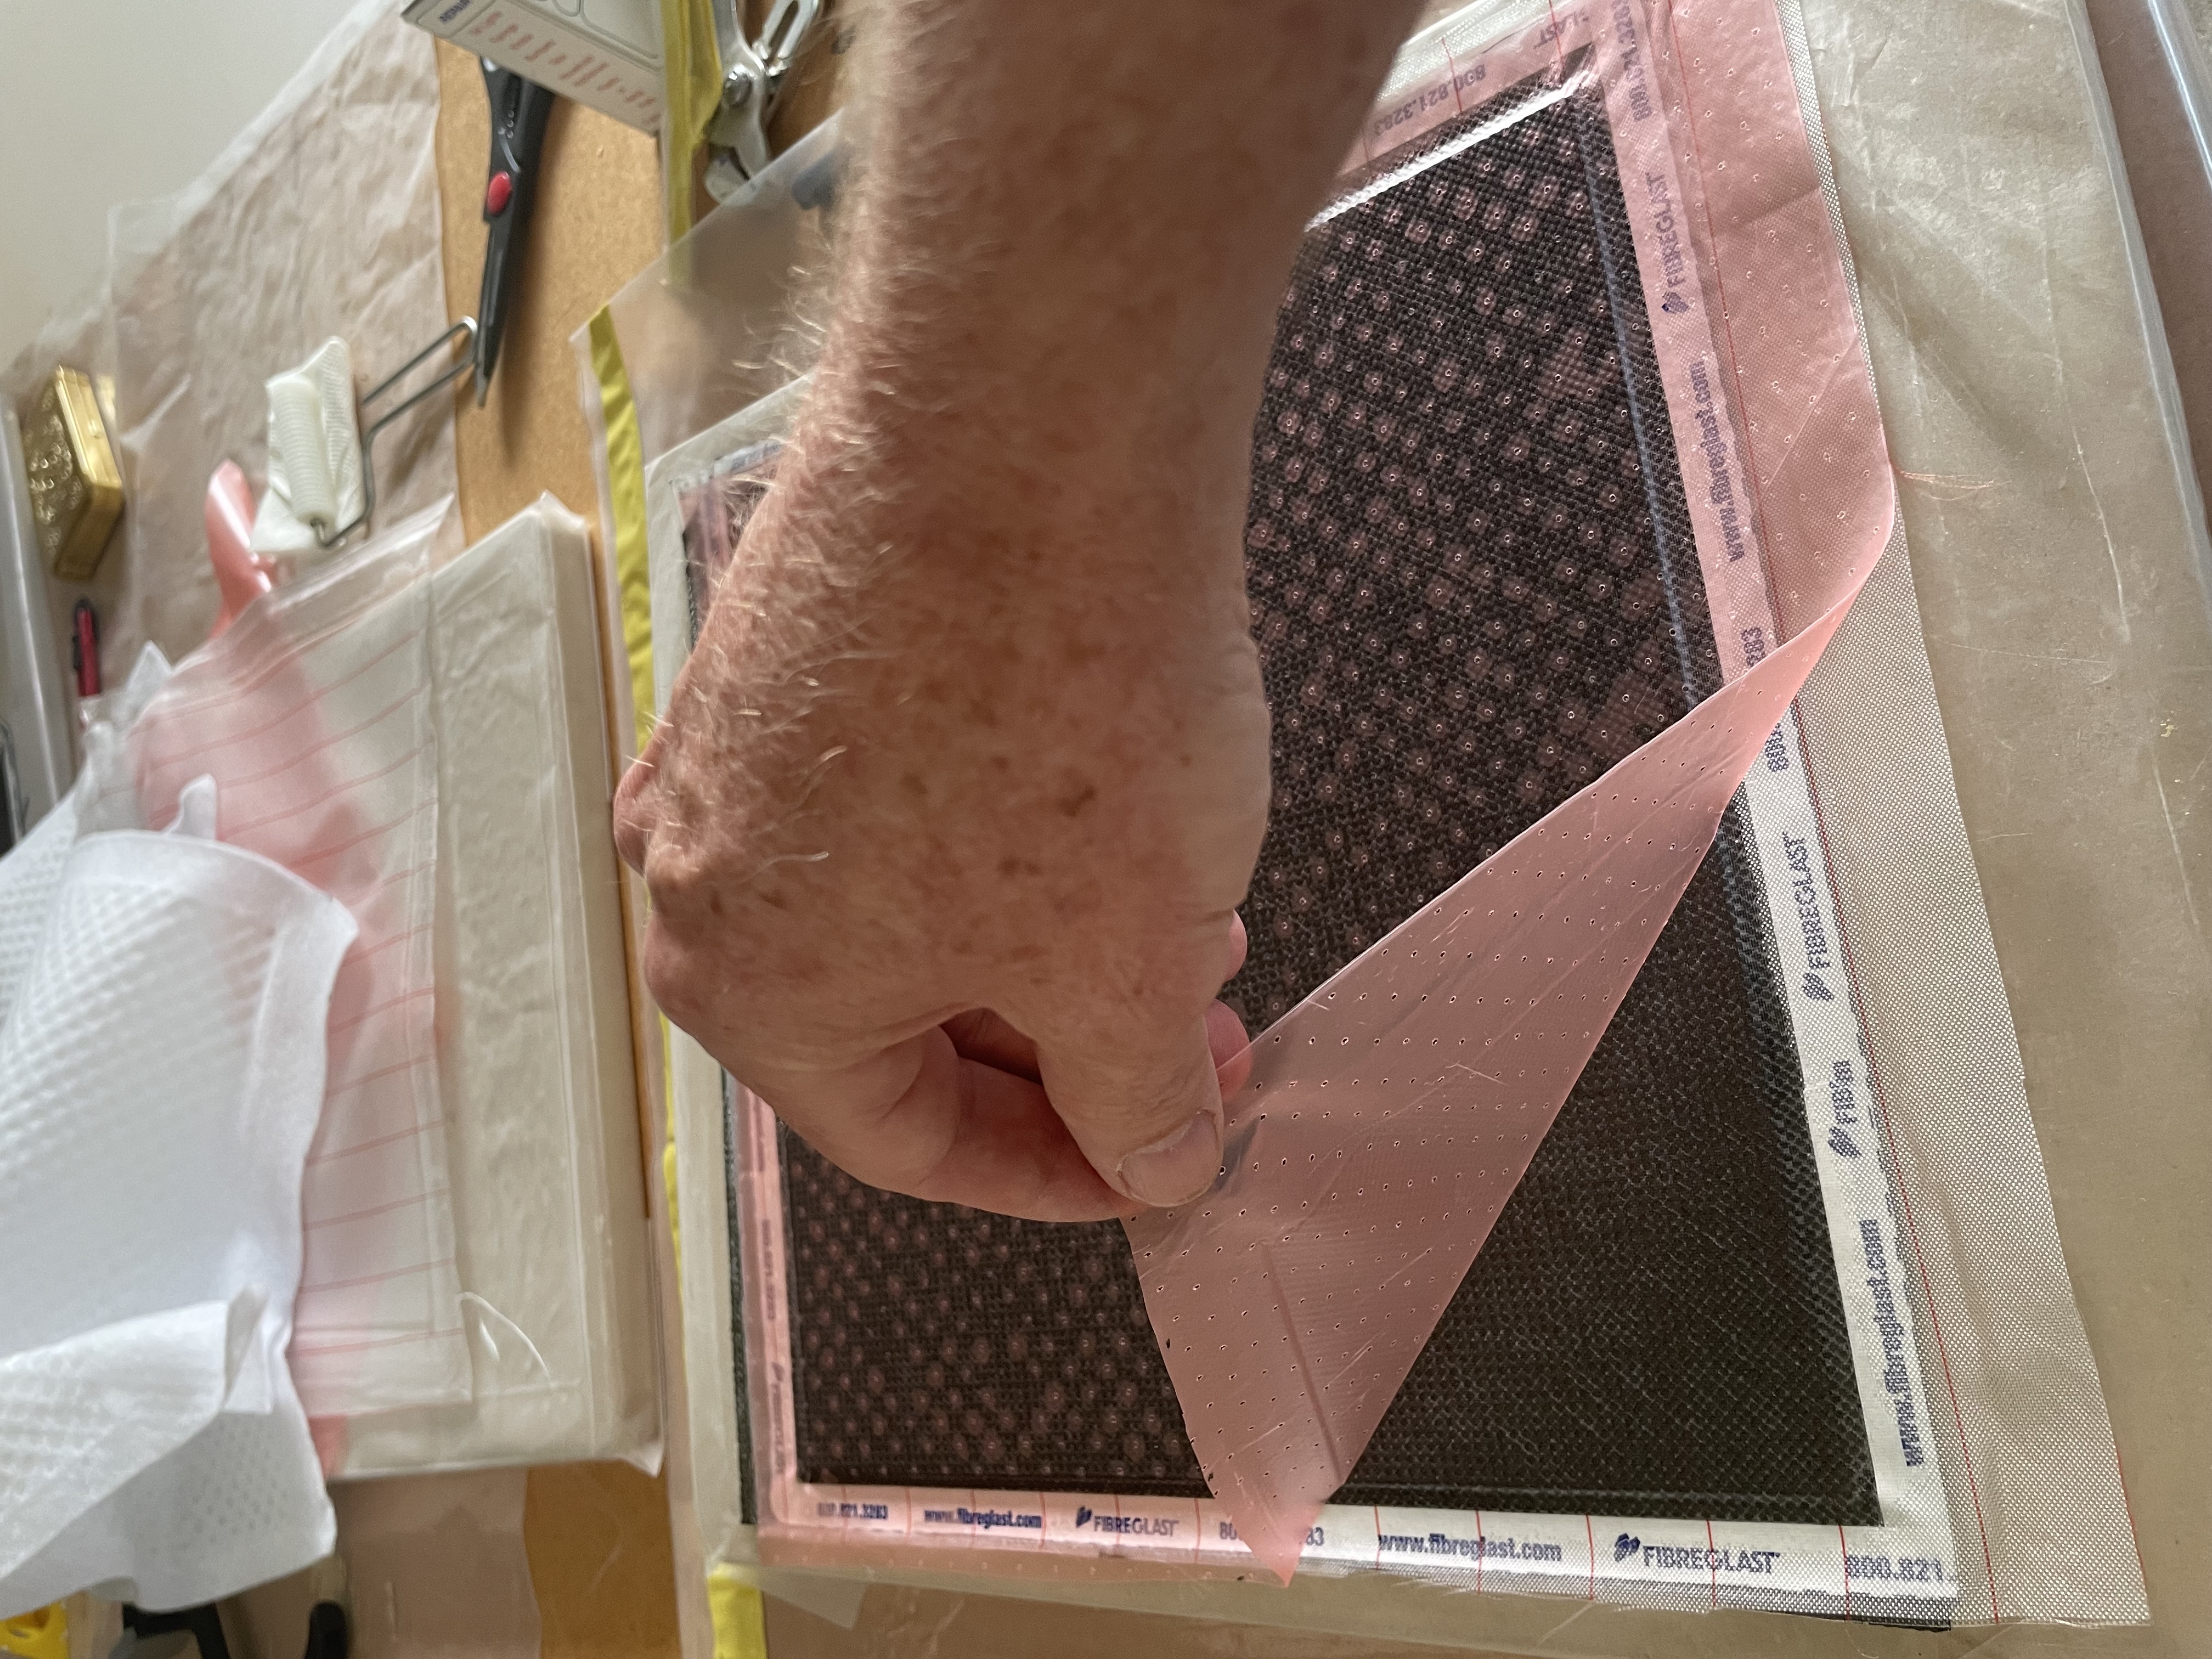
I first layup one side of the G-10 then place a caul plate on top and flip over and do the same for the other side.
Here are the pictures of my process.

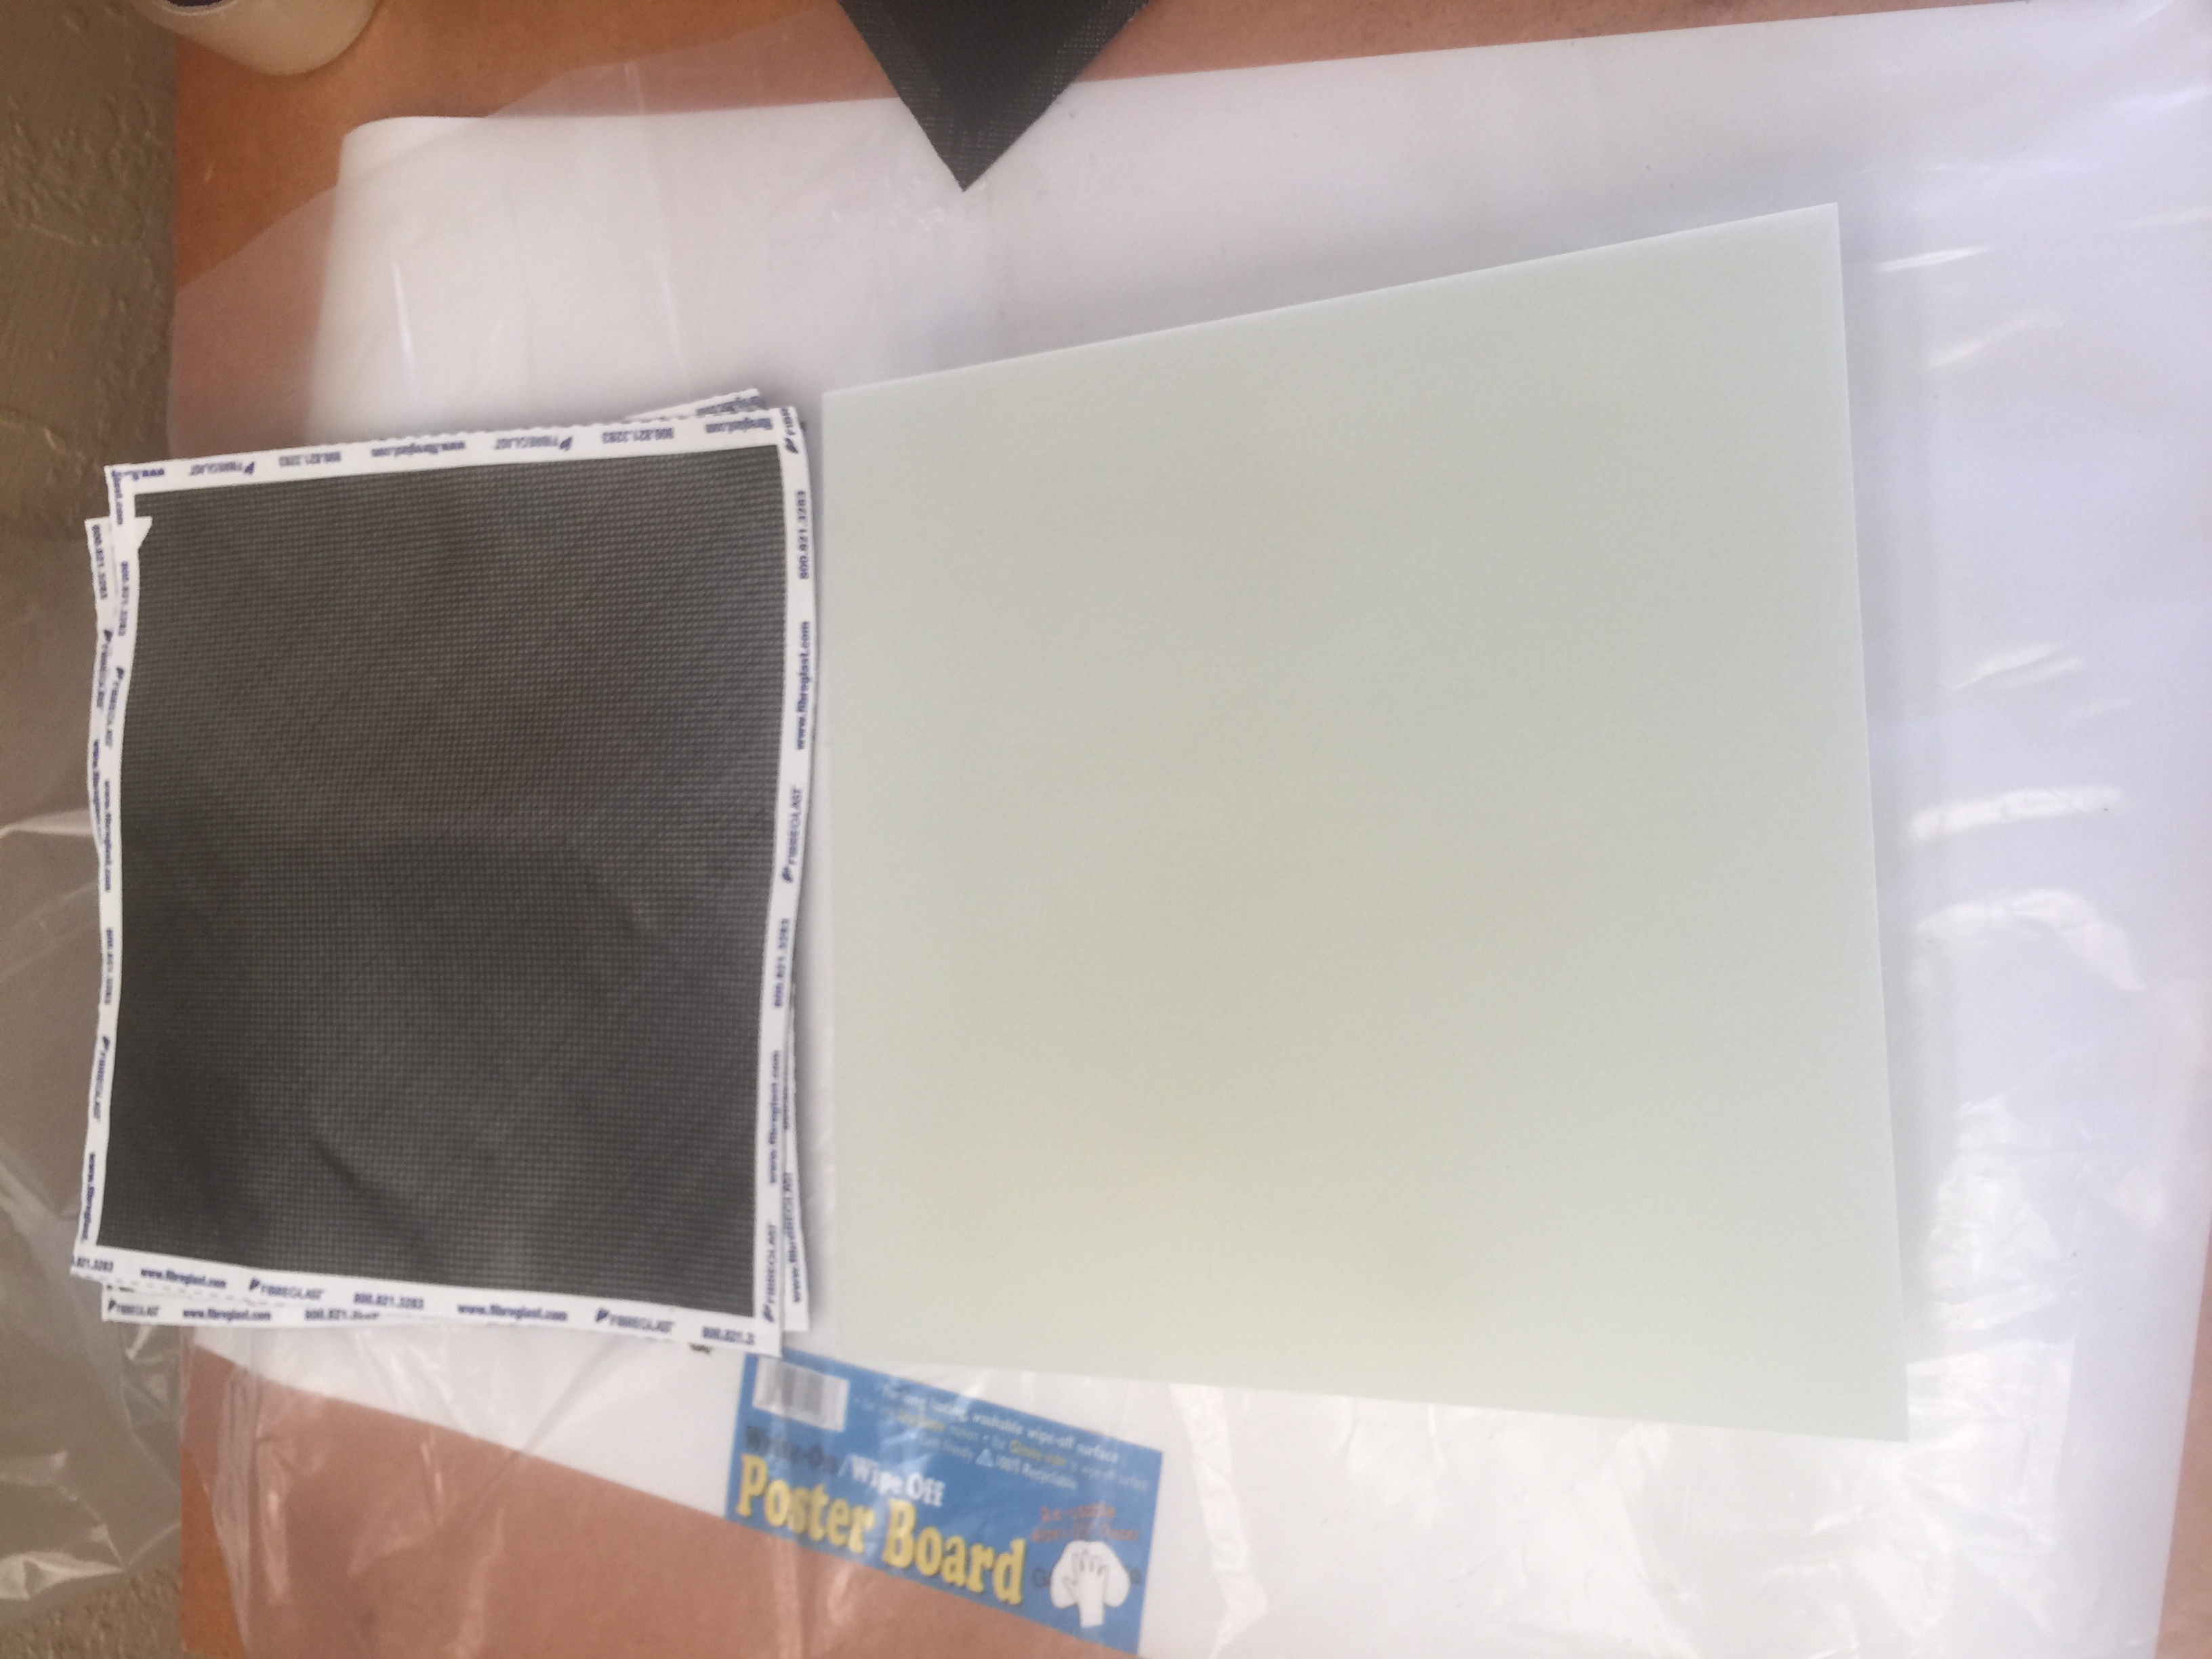


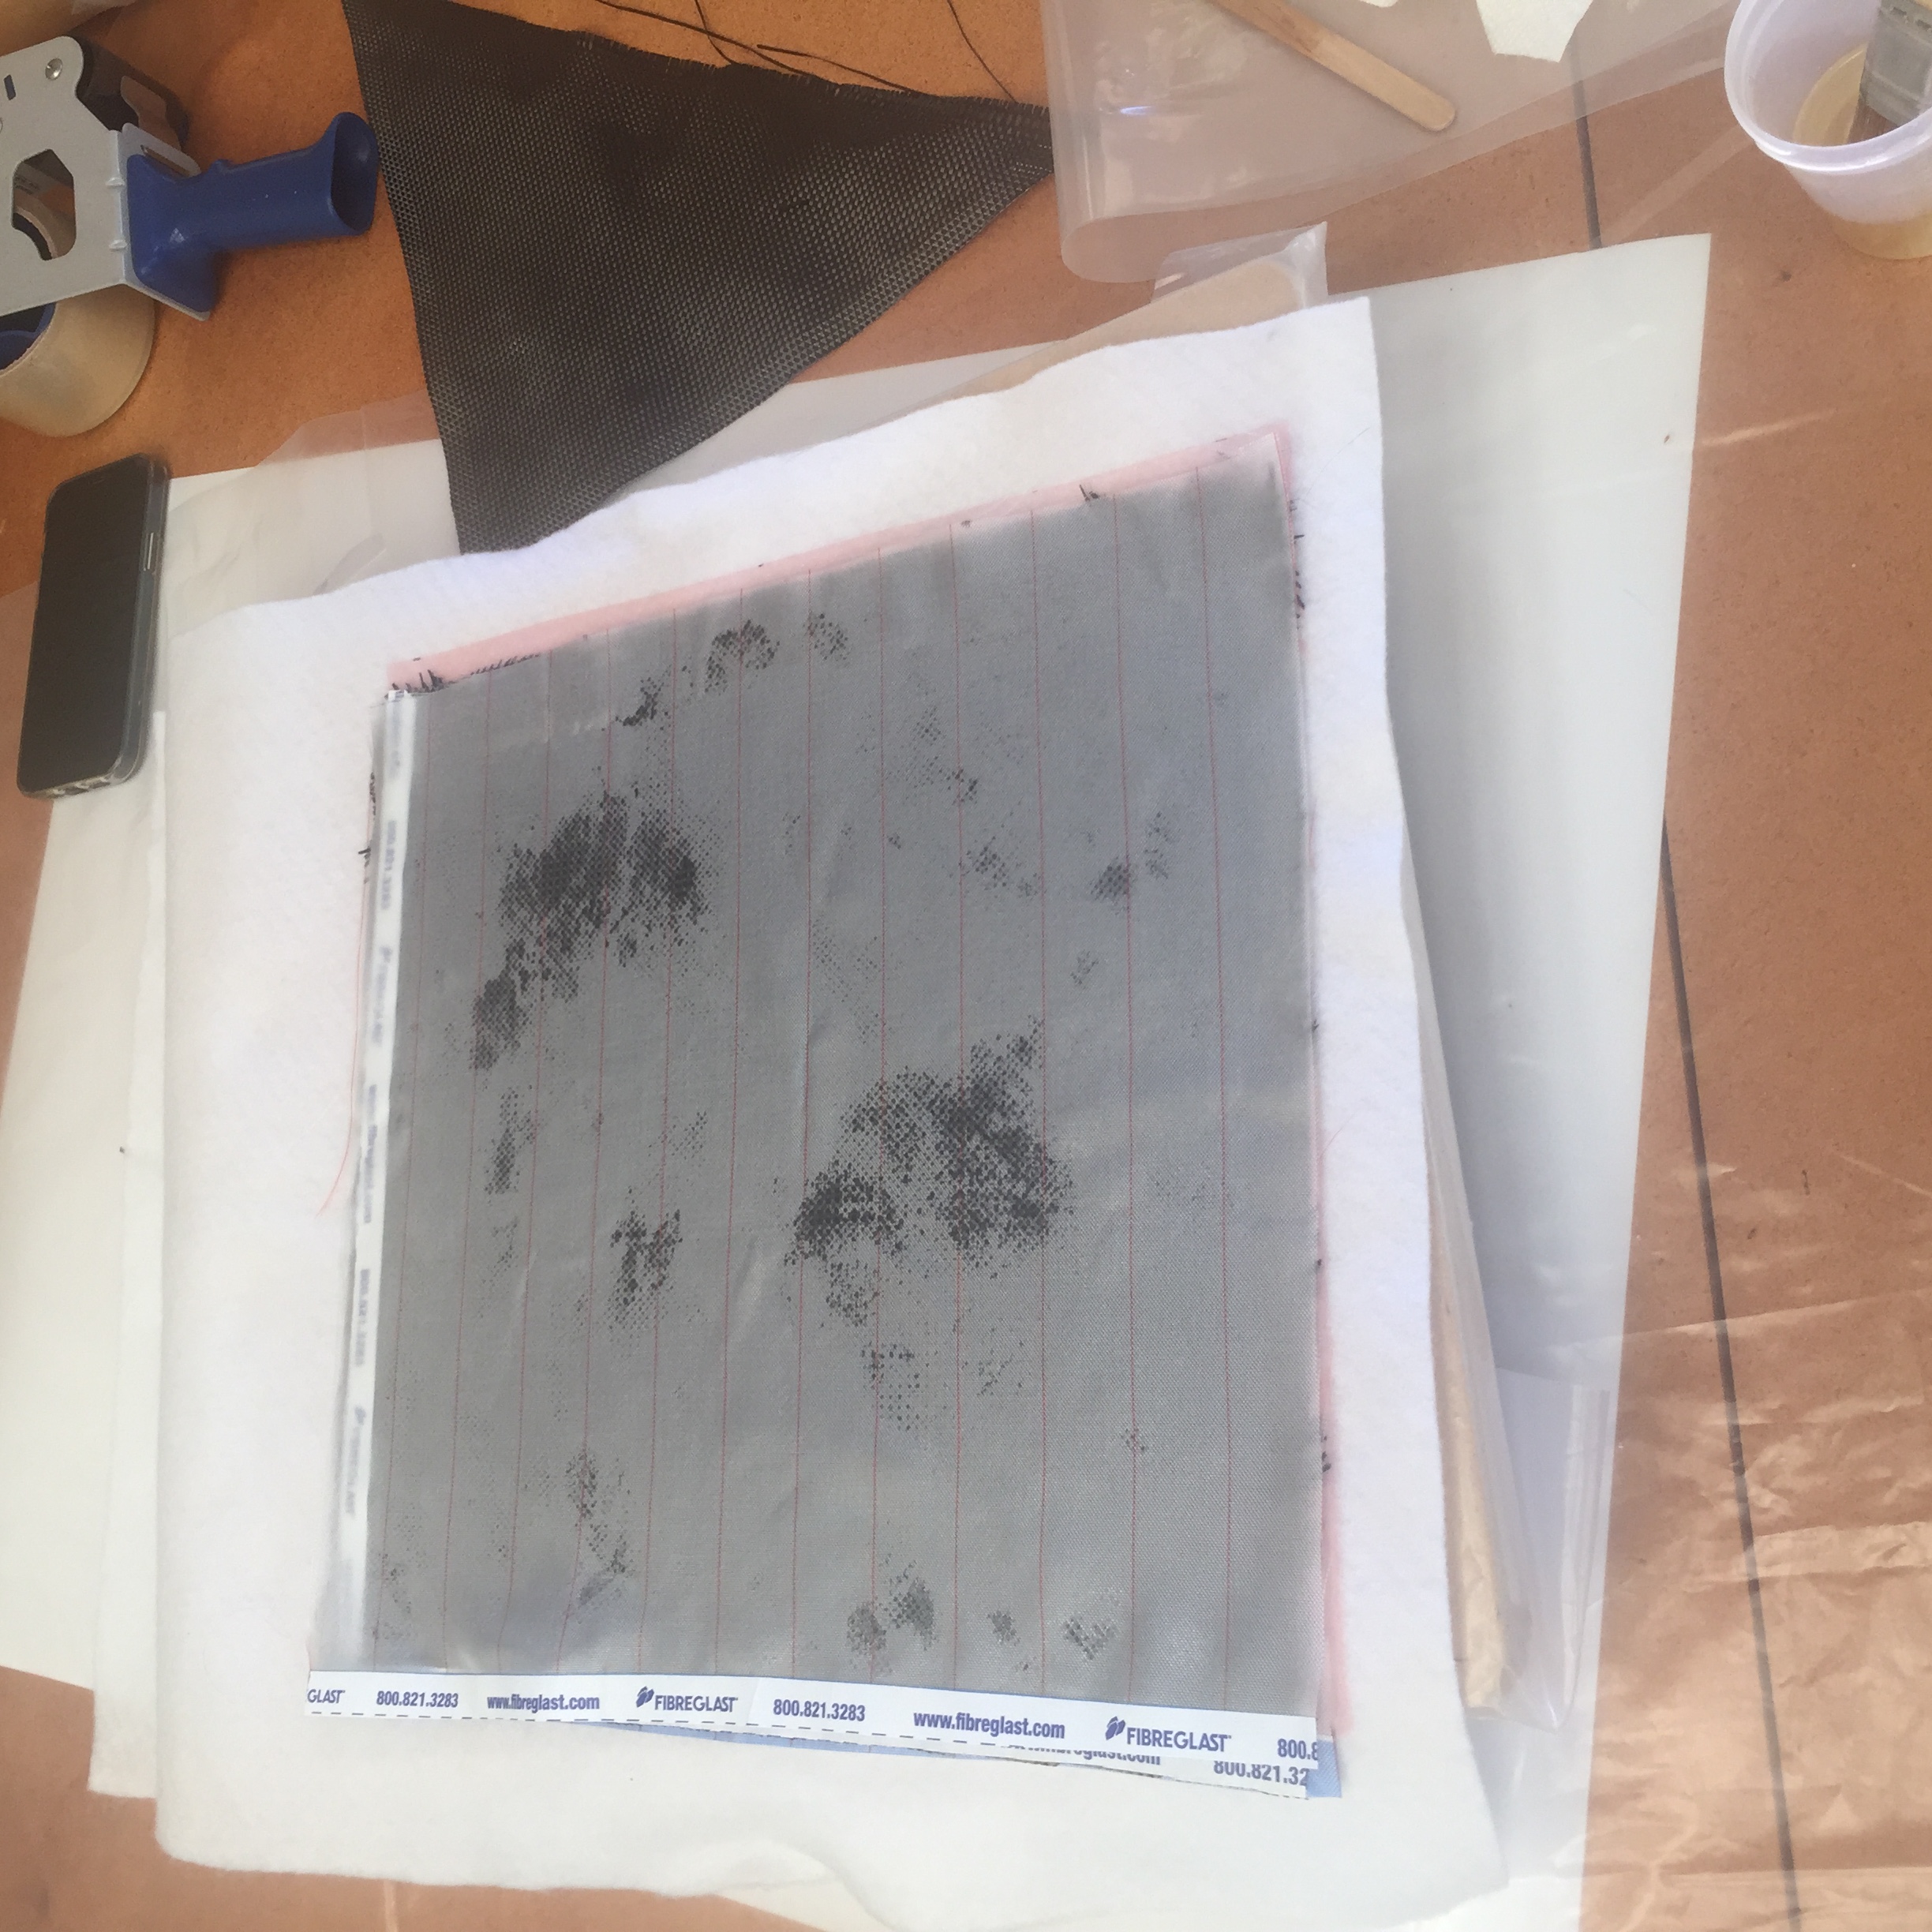


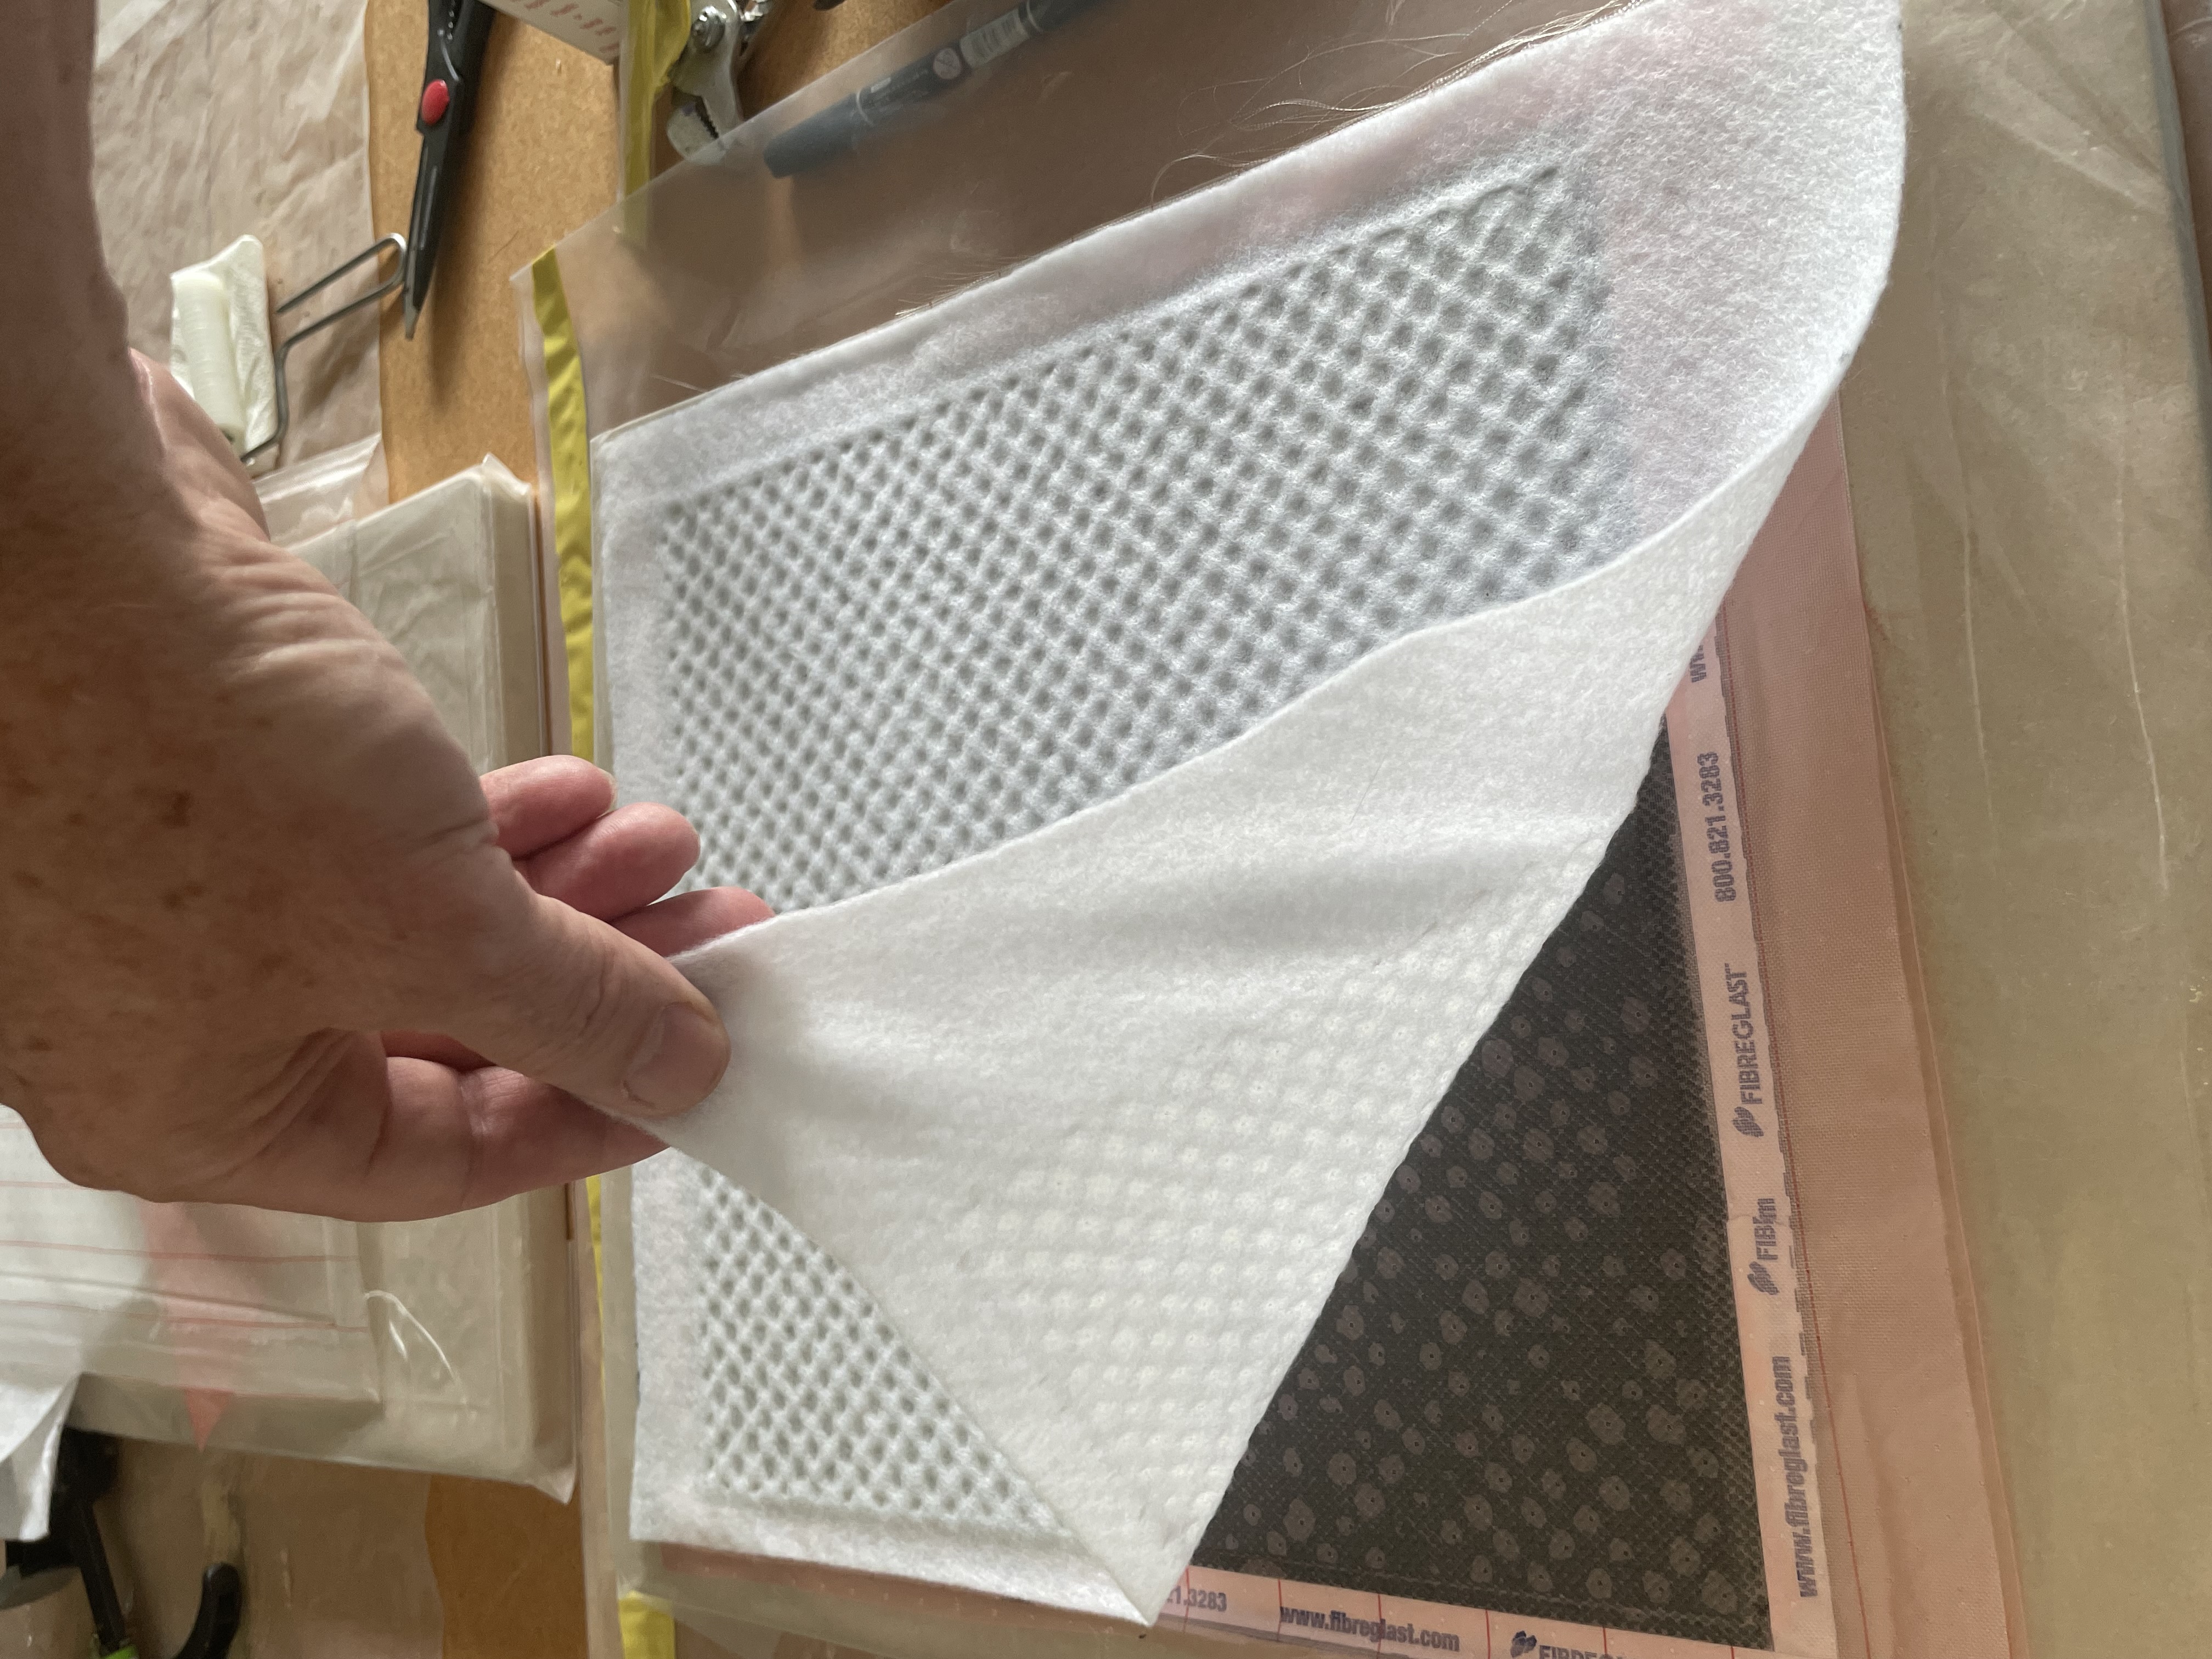
After the epoxy is set, I removed the stack from the vacuum bag, remove the breather, perforated release, and peel ply.

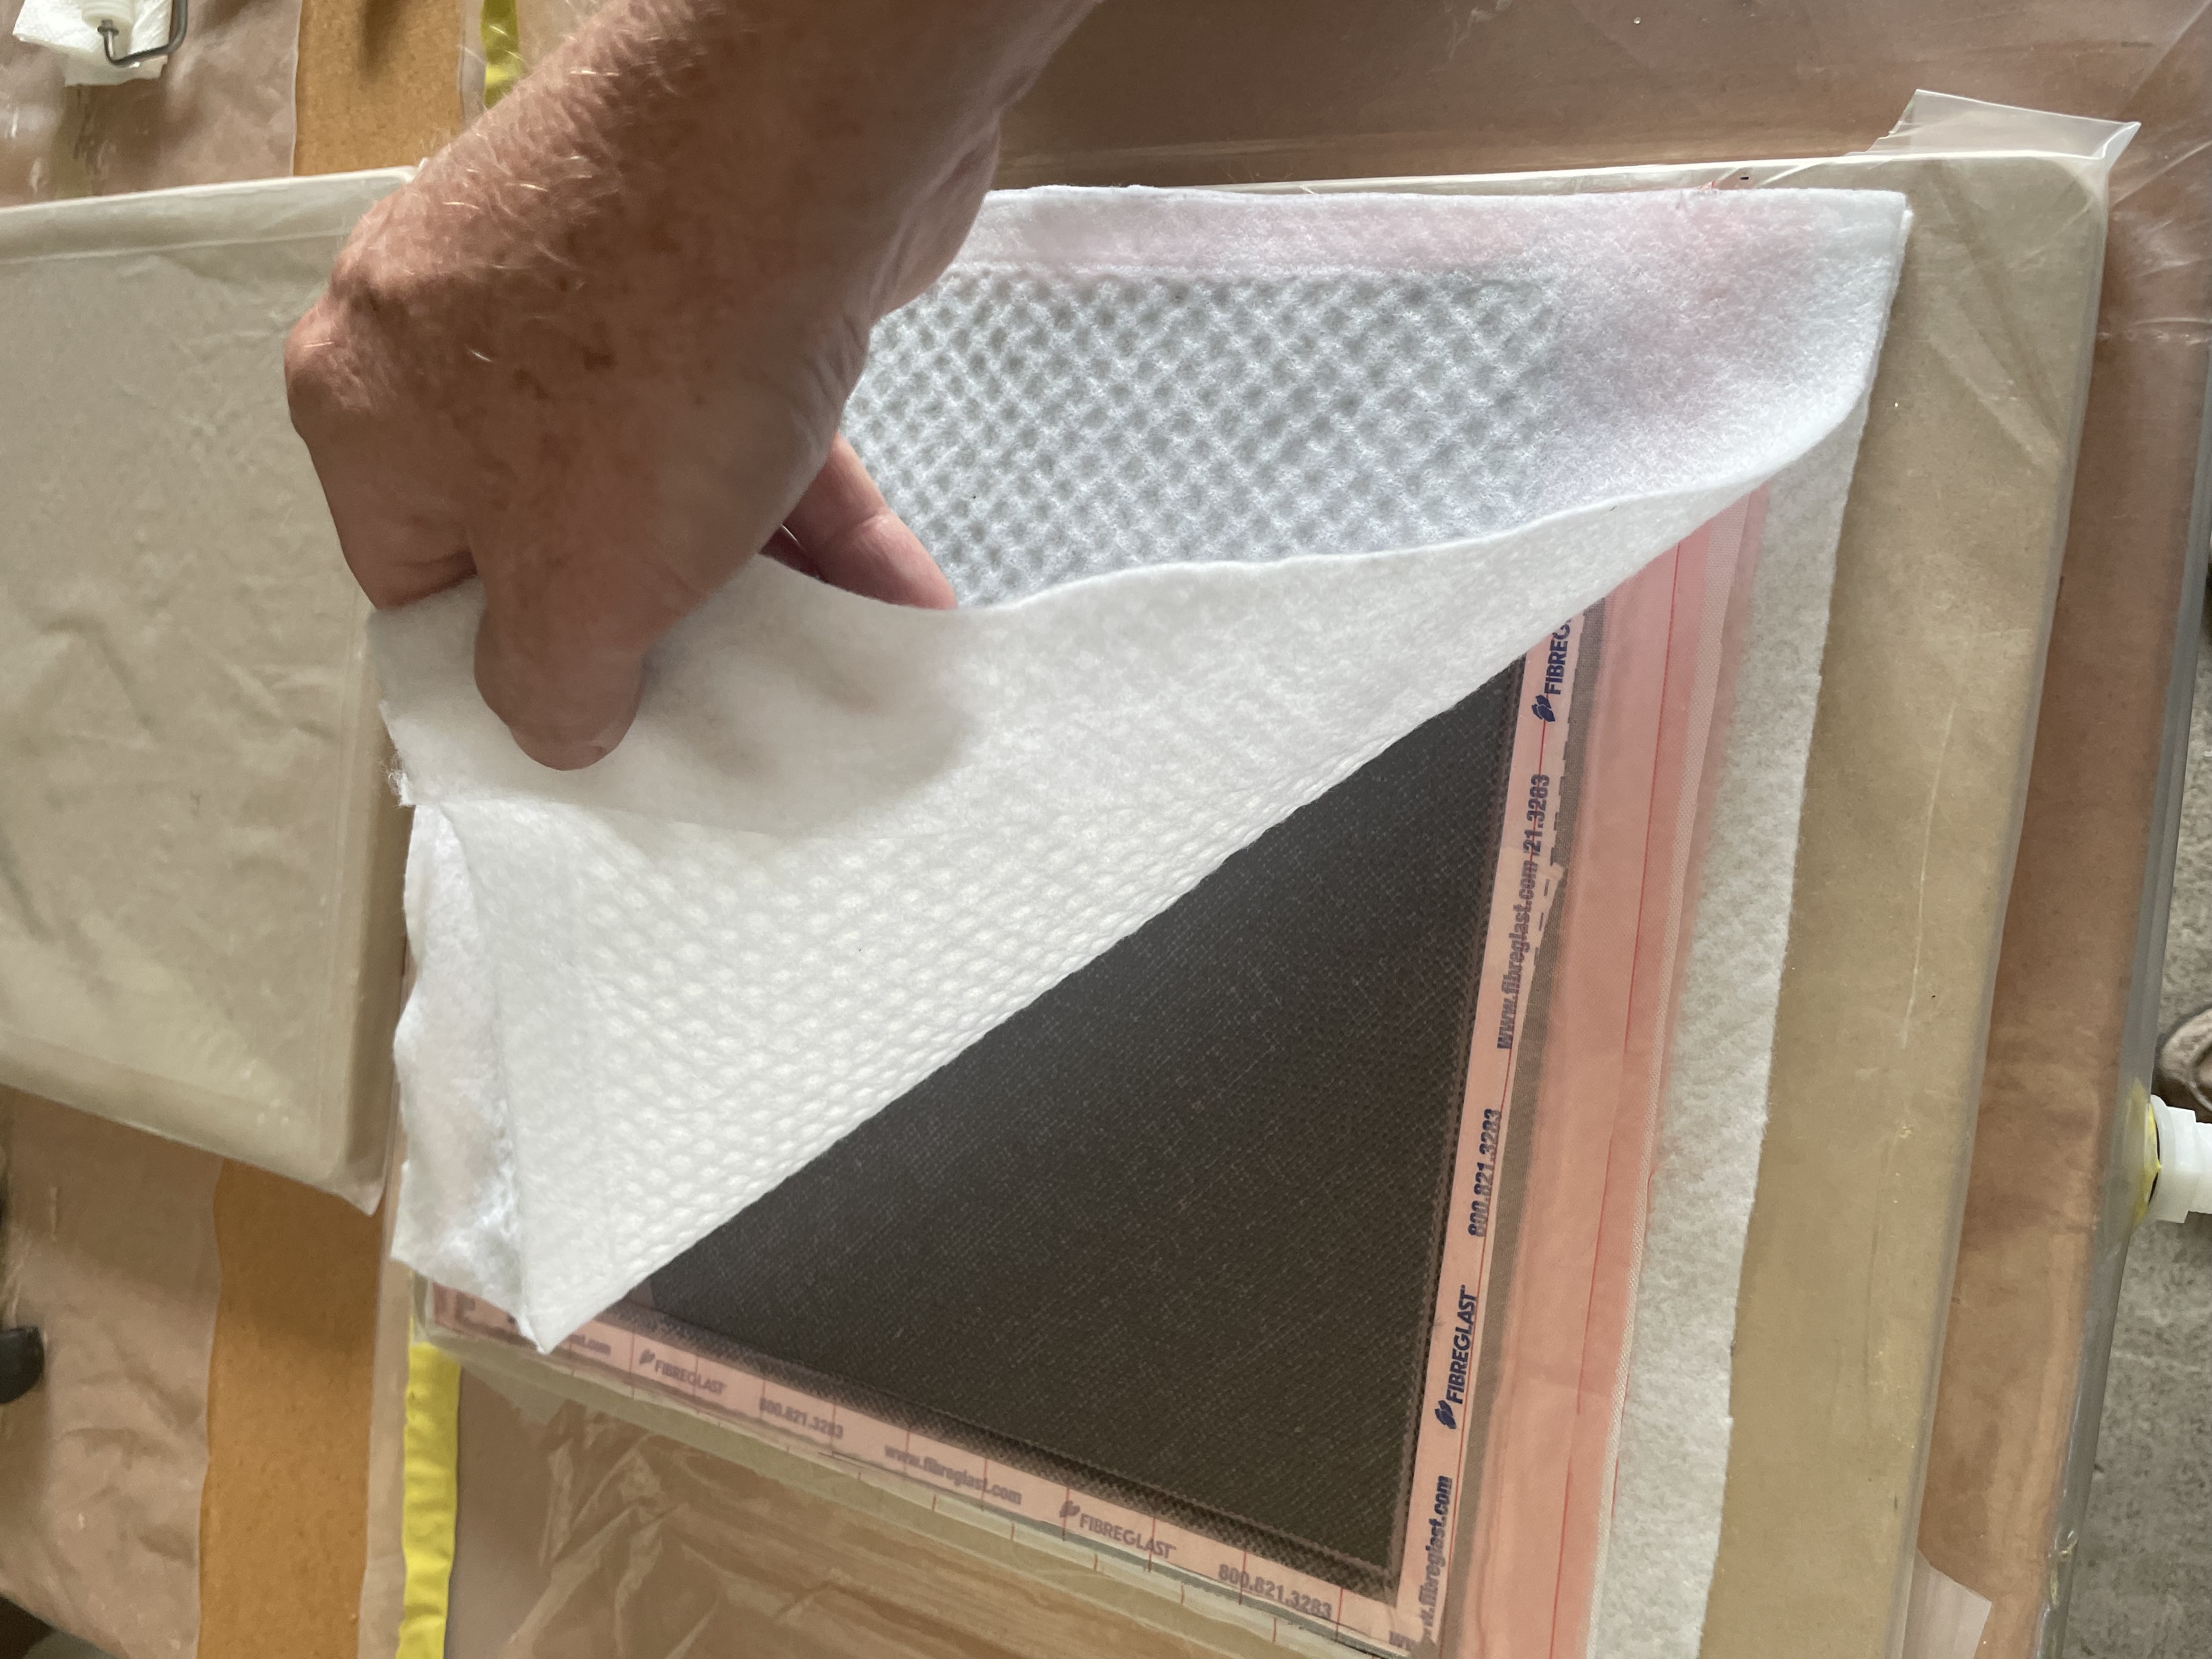
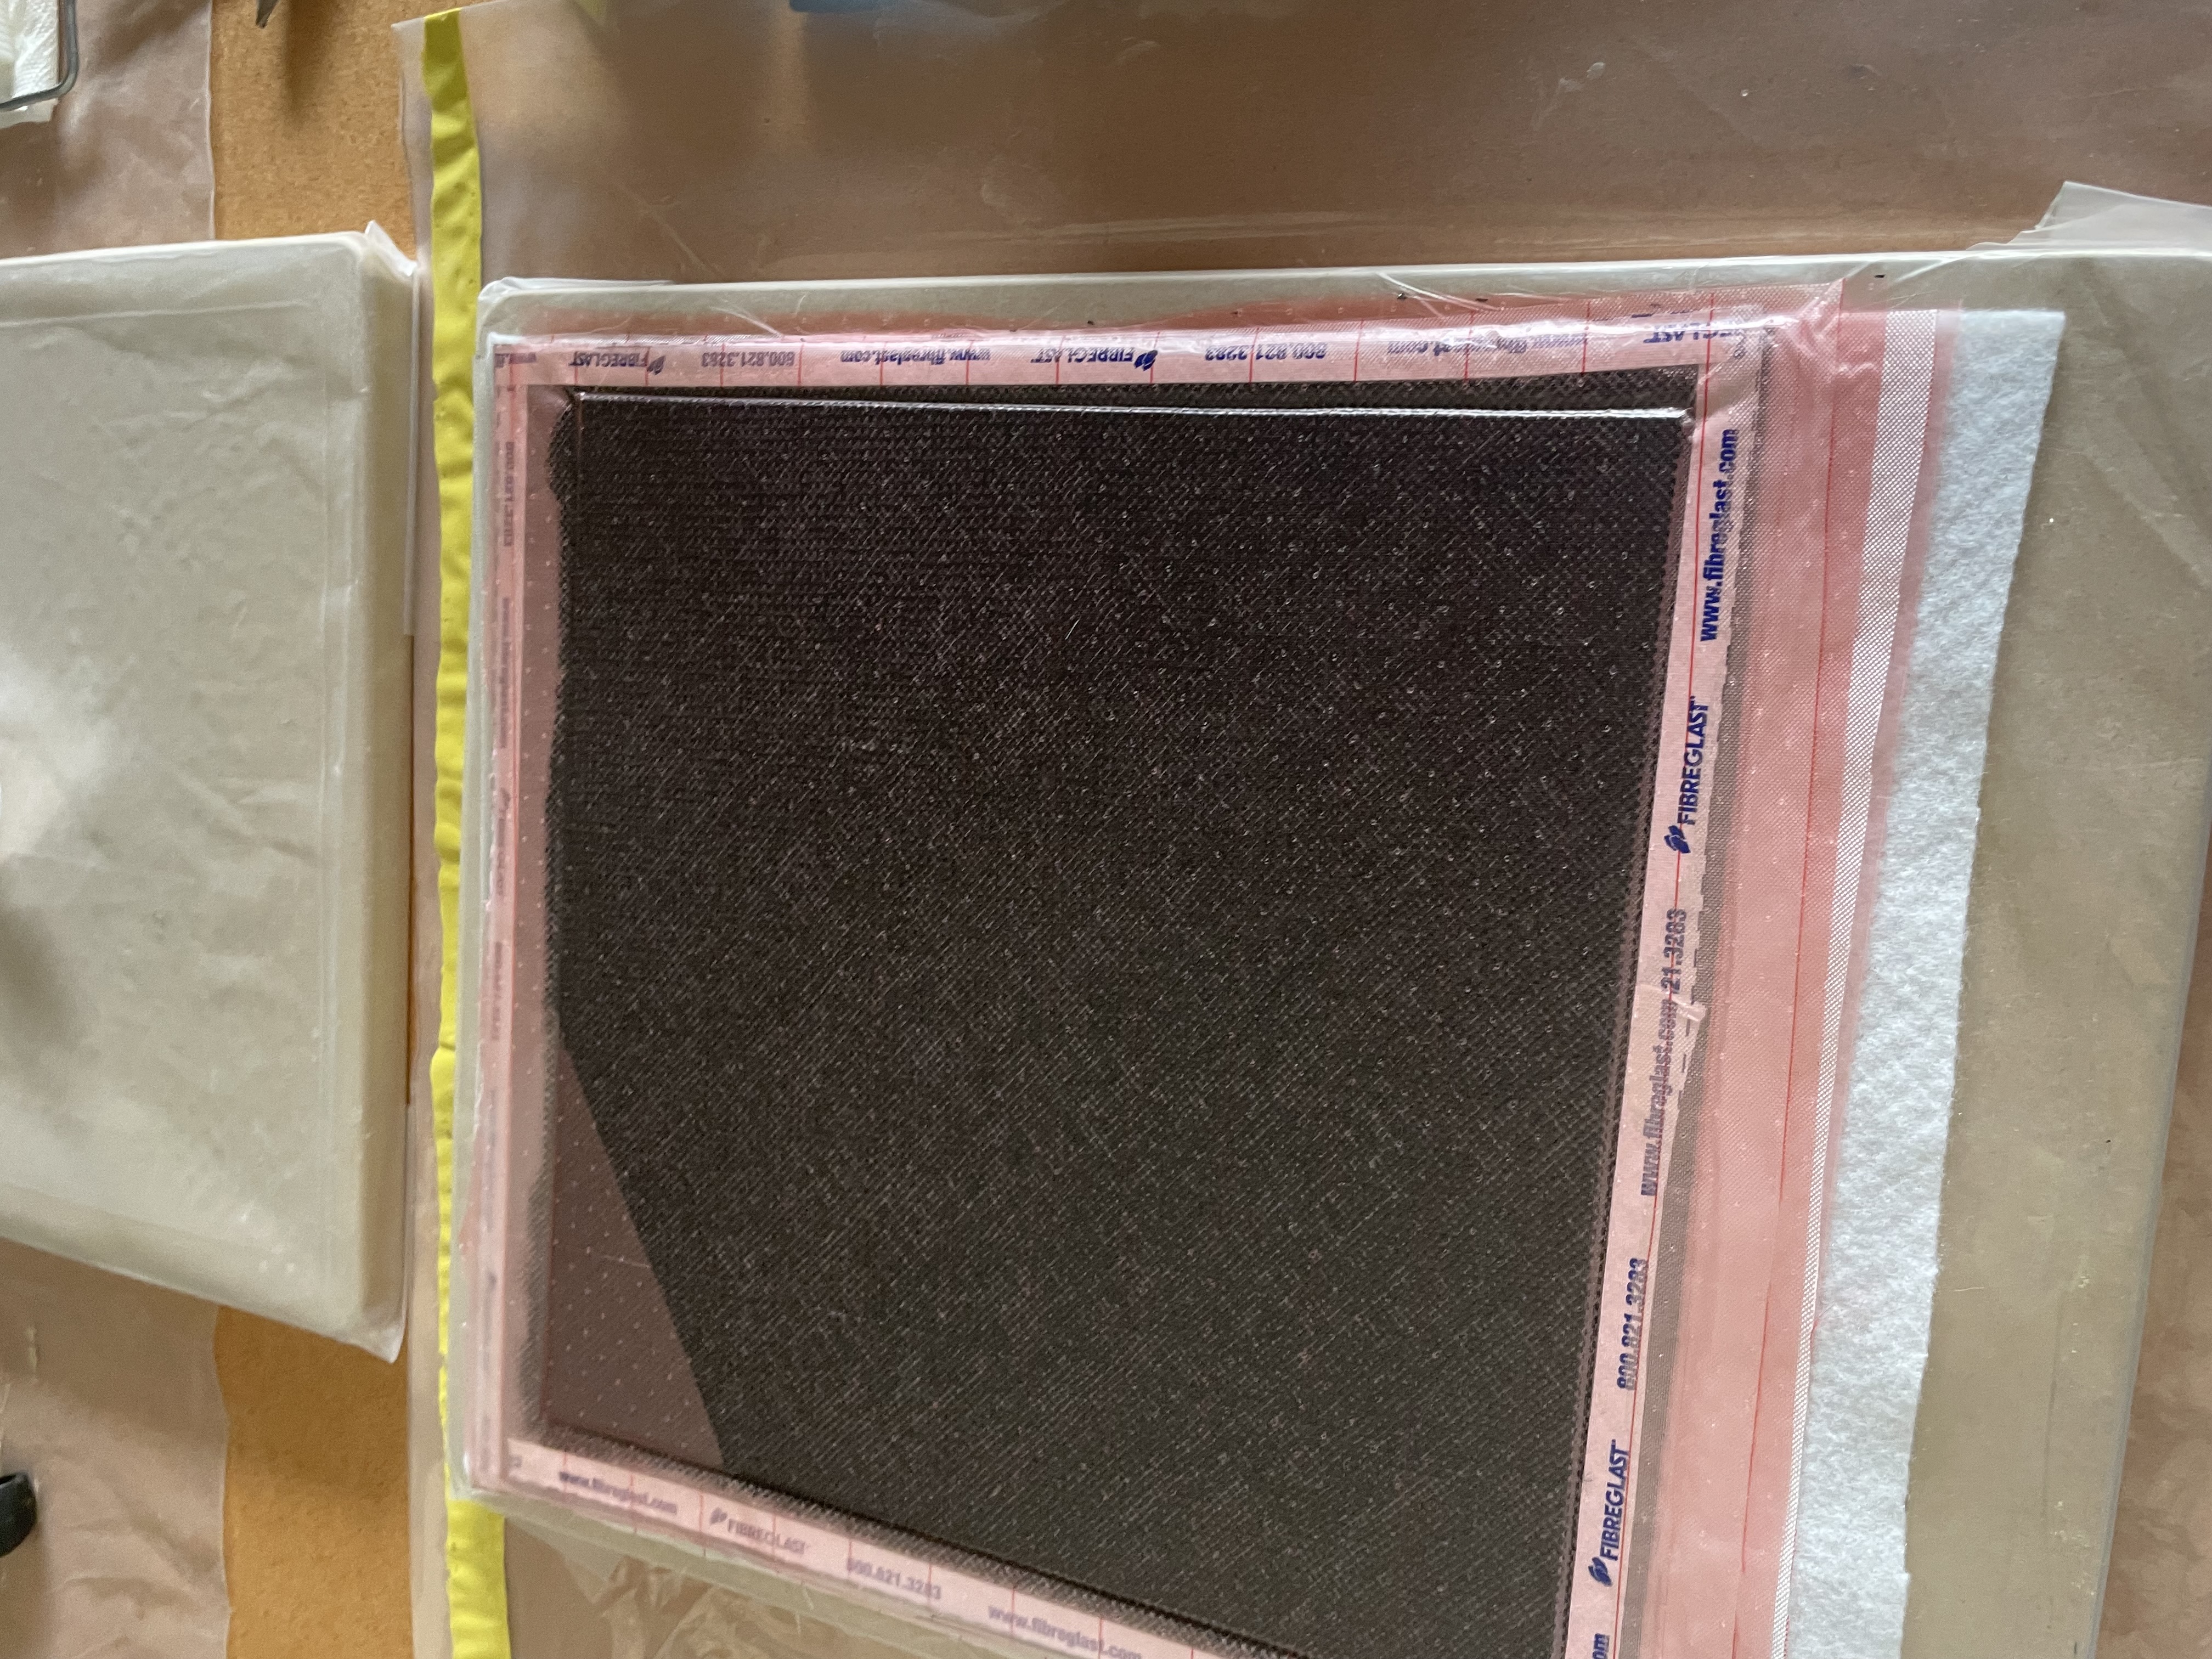
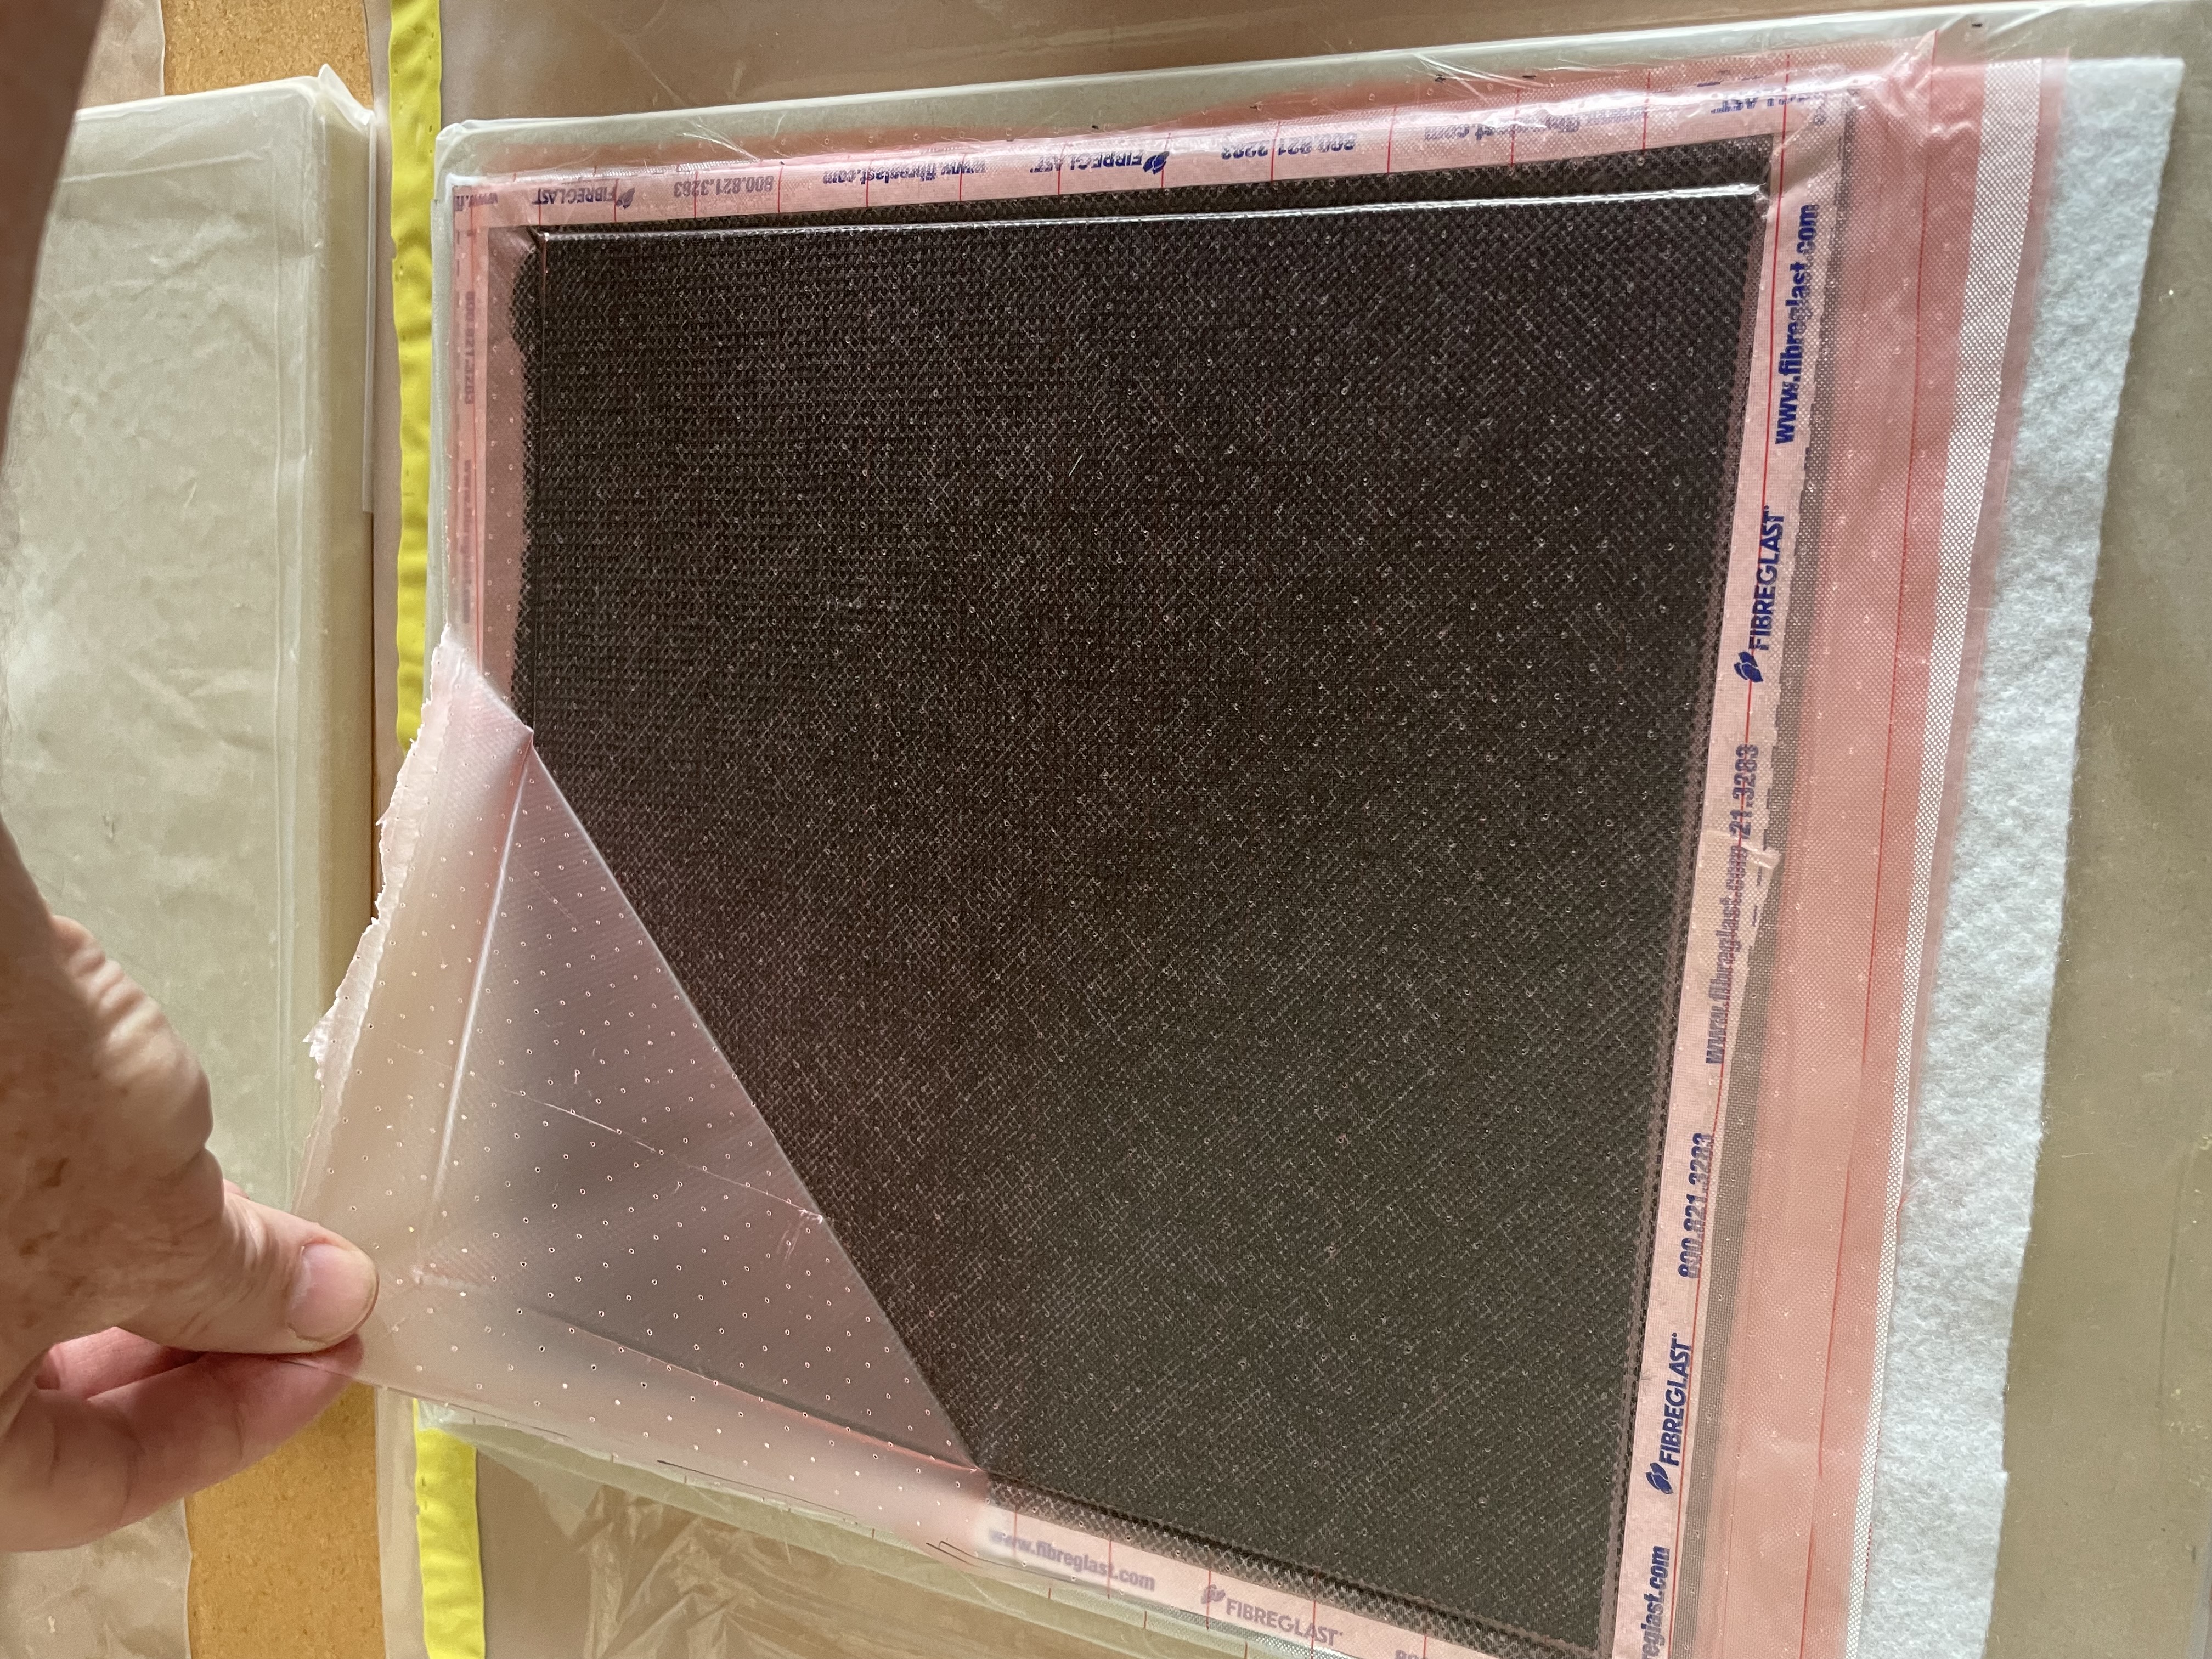
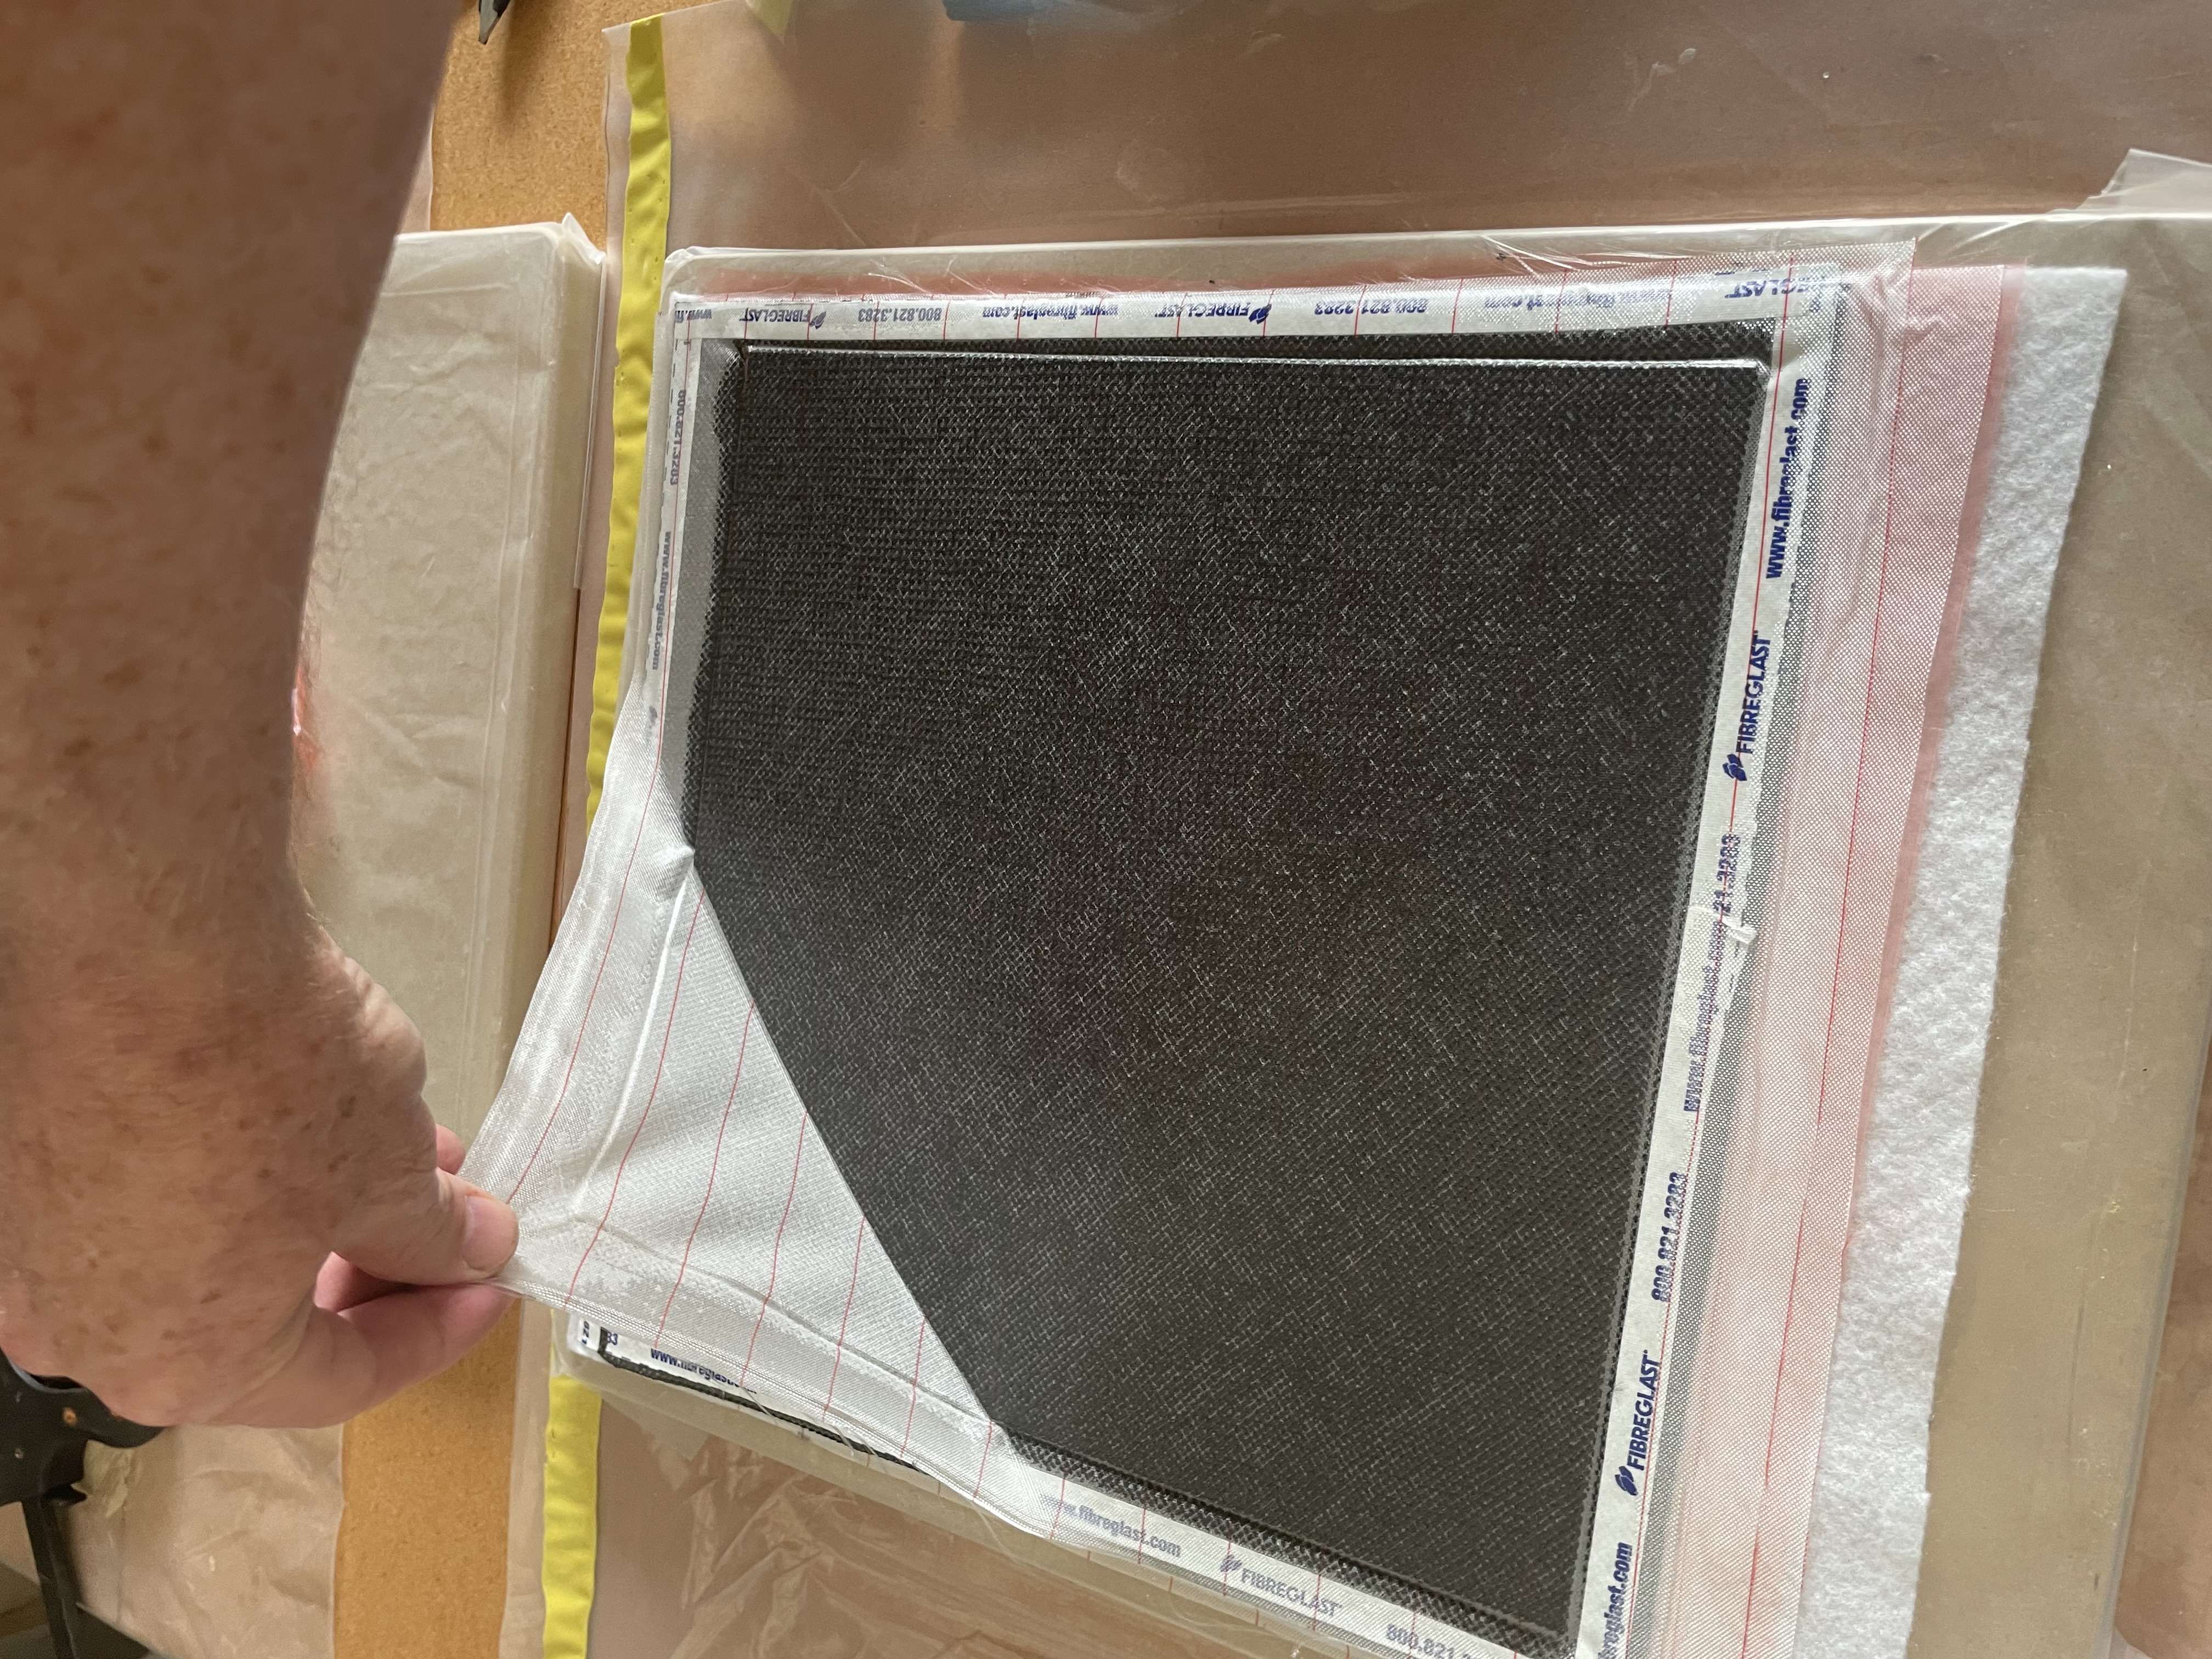
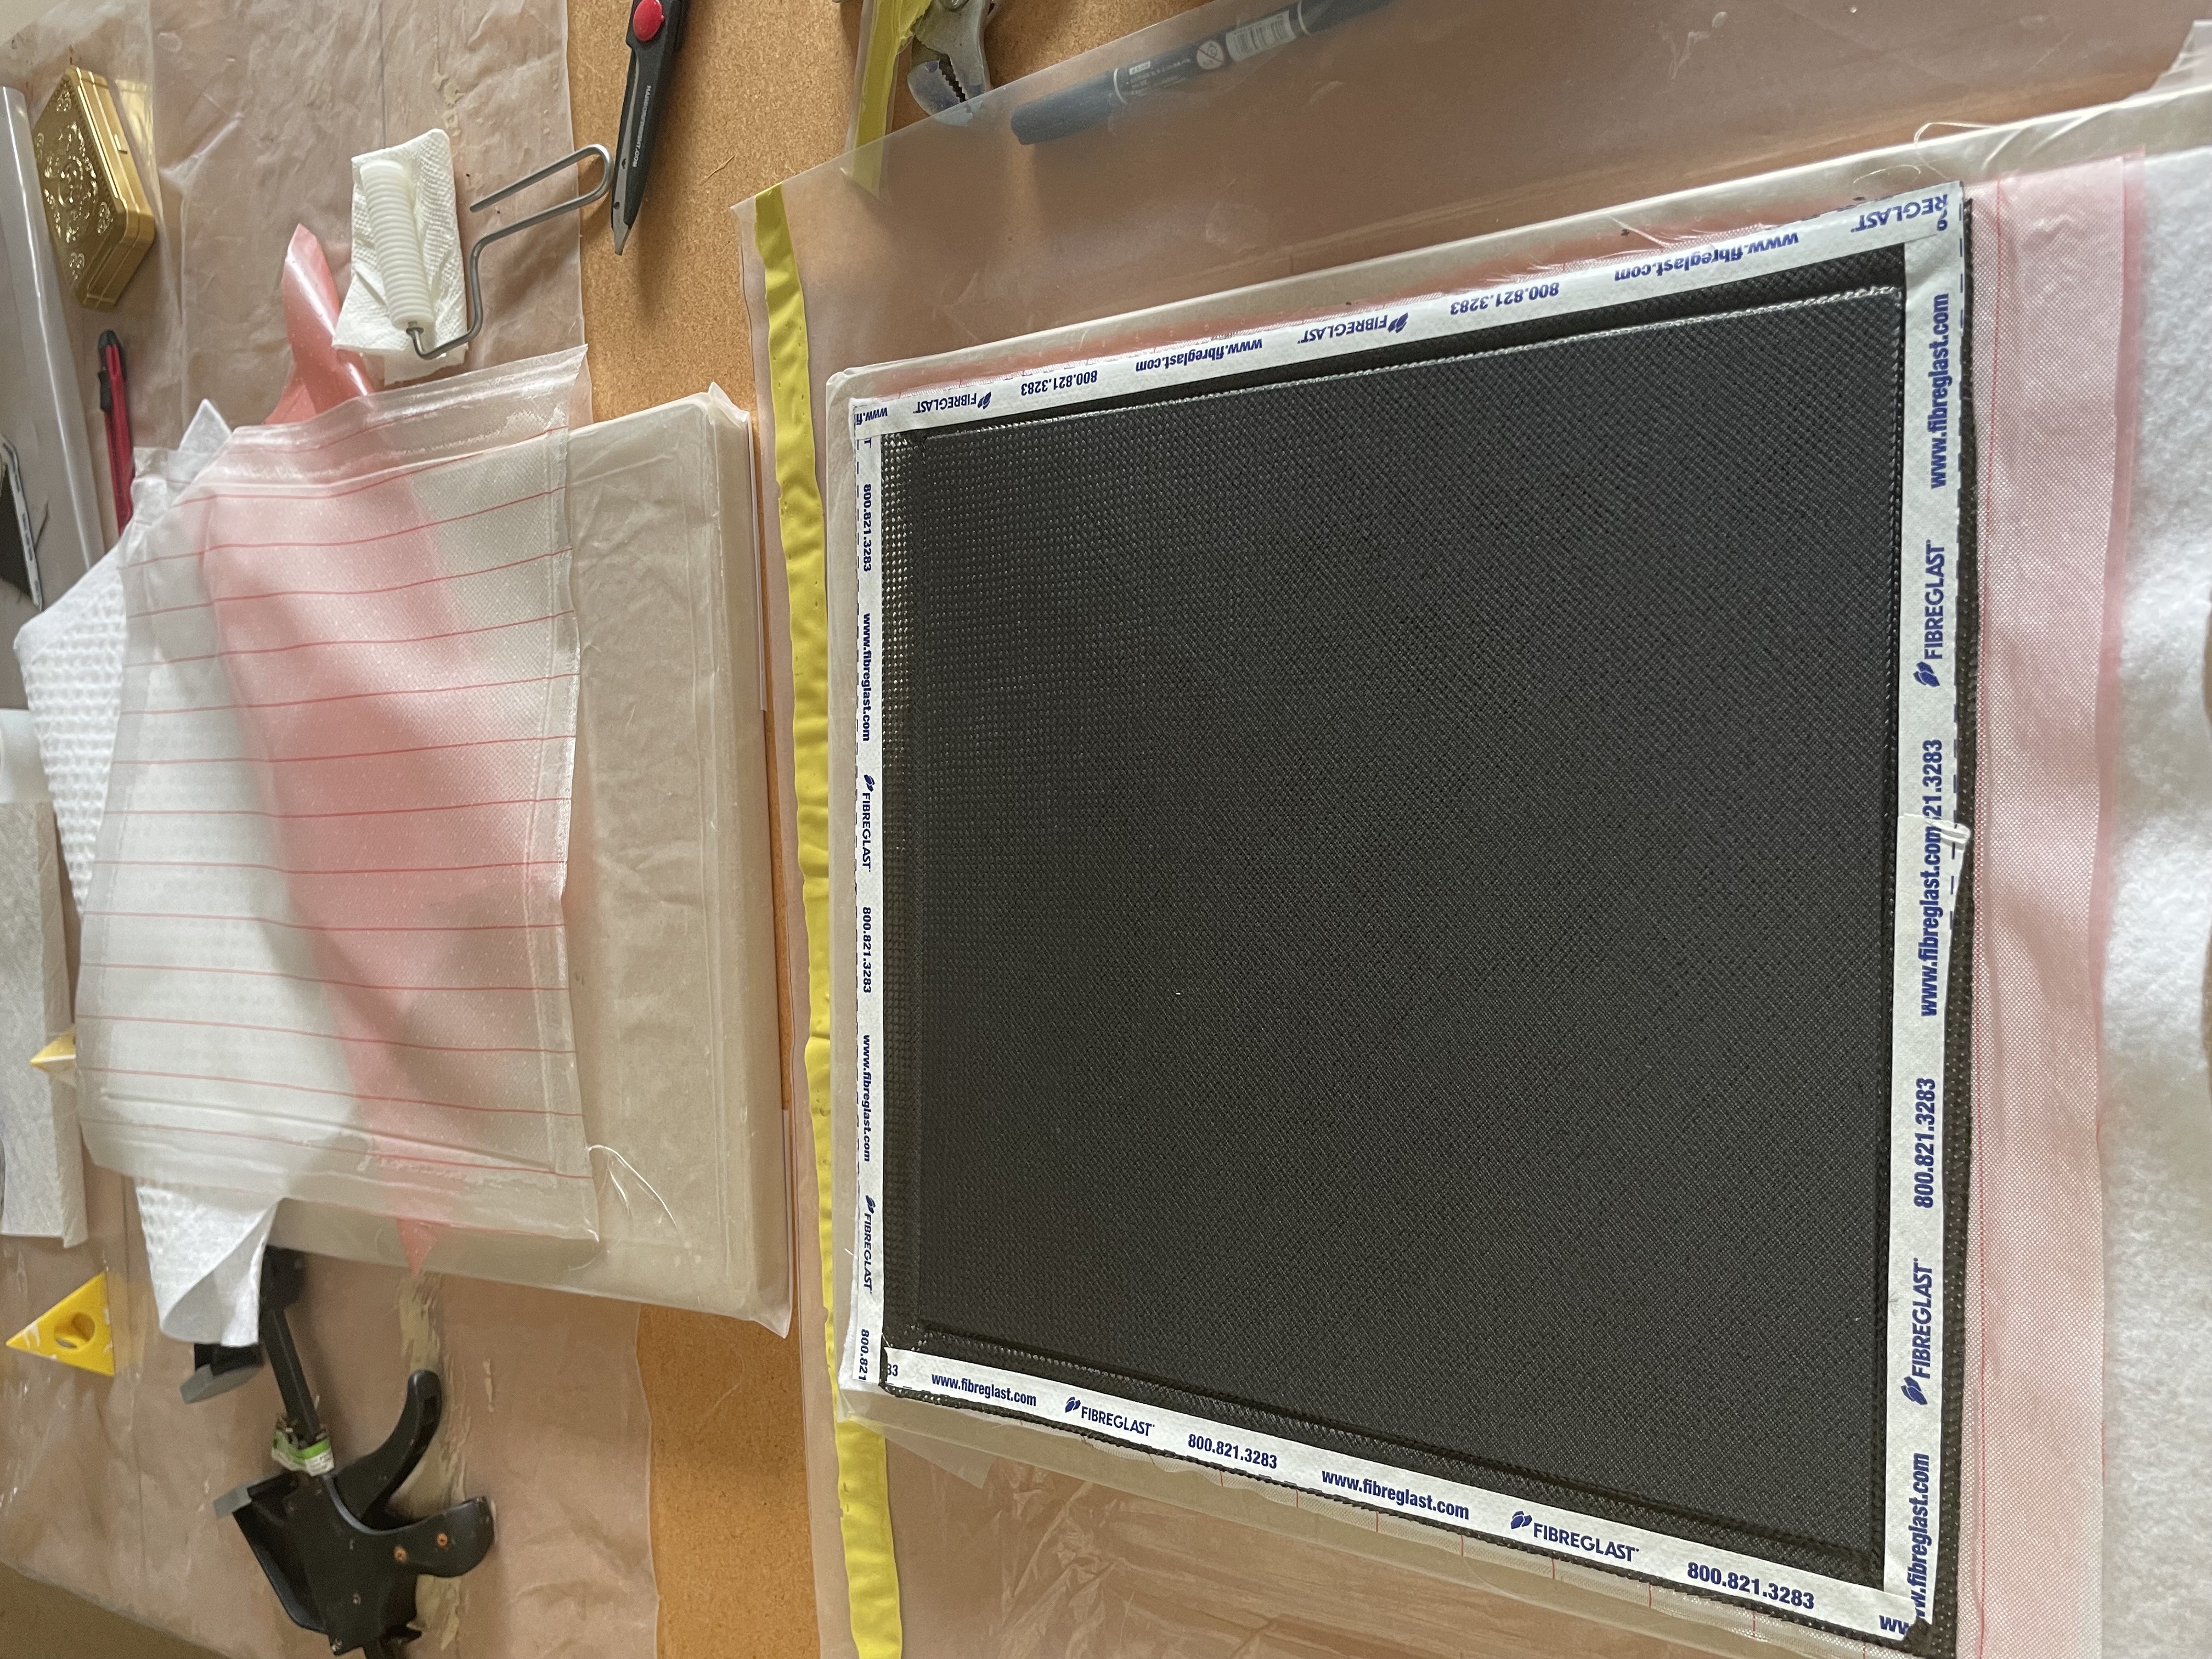
flip the stack over and remove the layers from the other side.

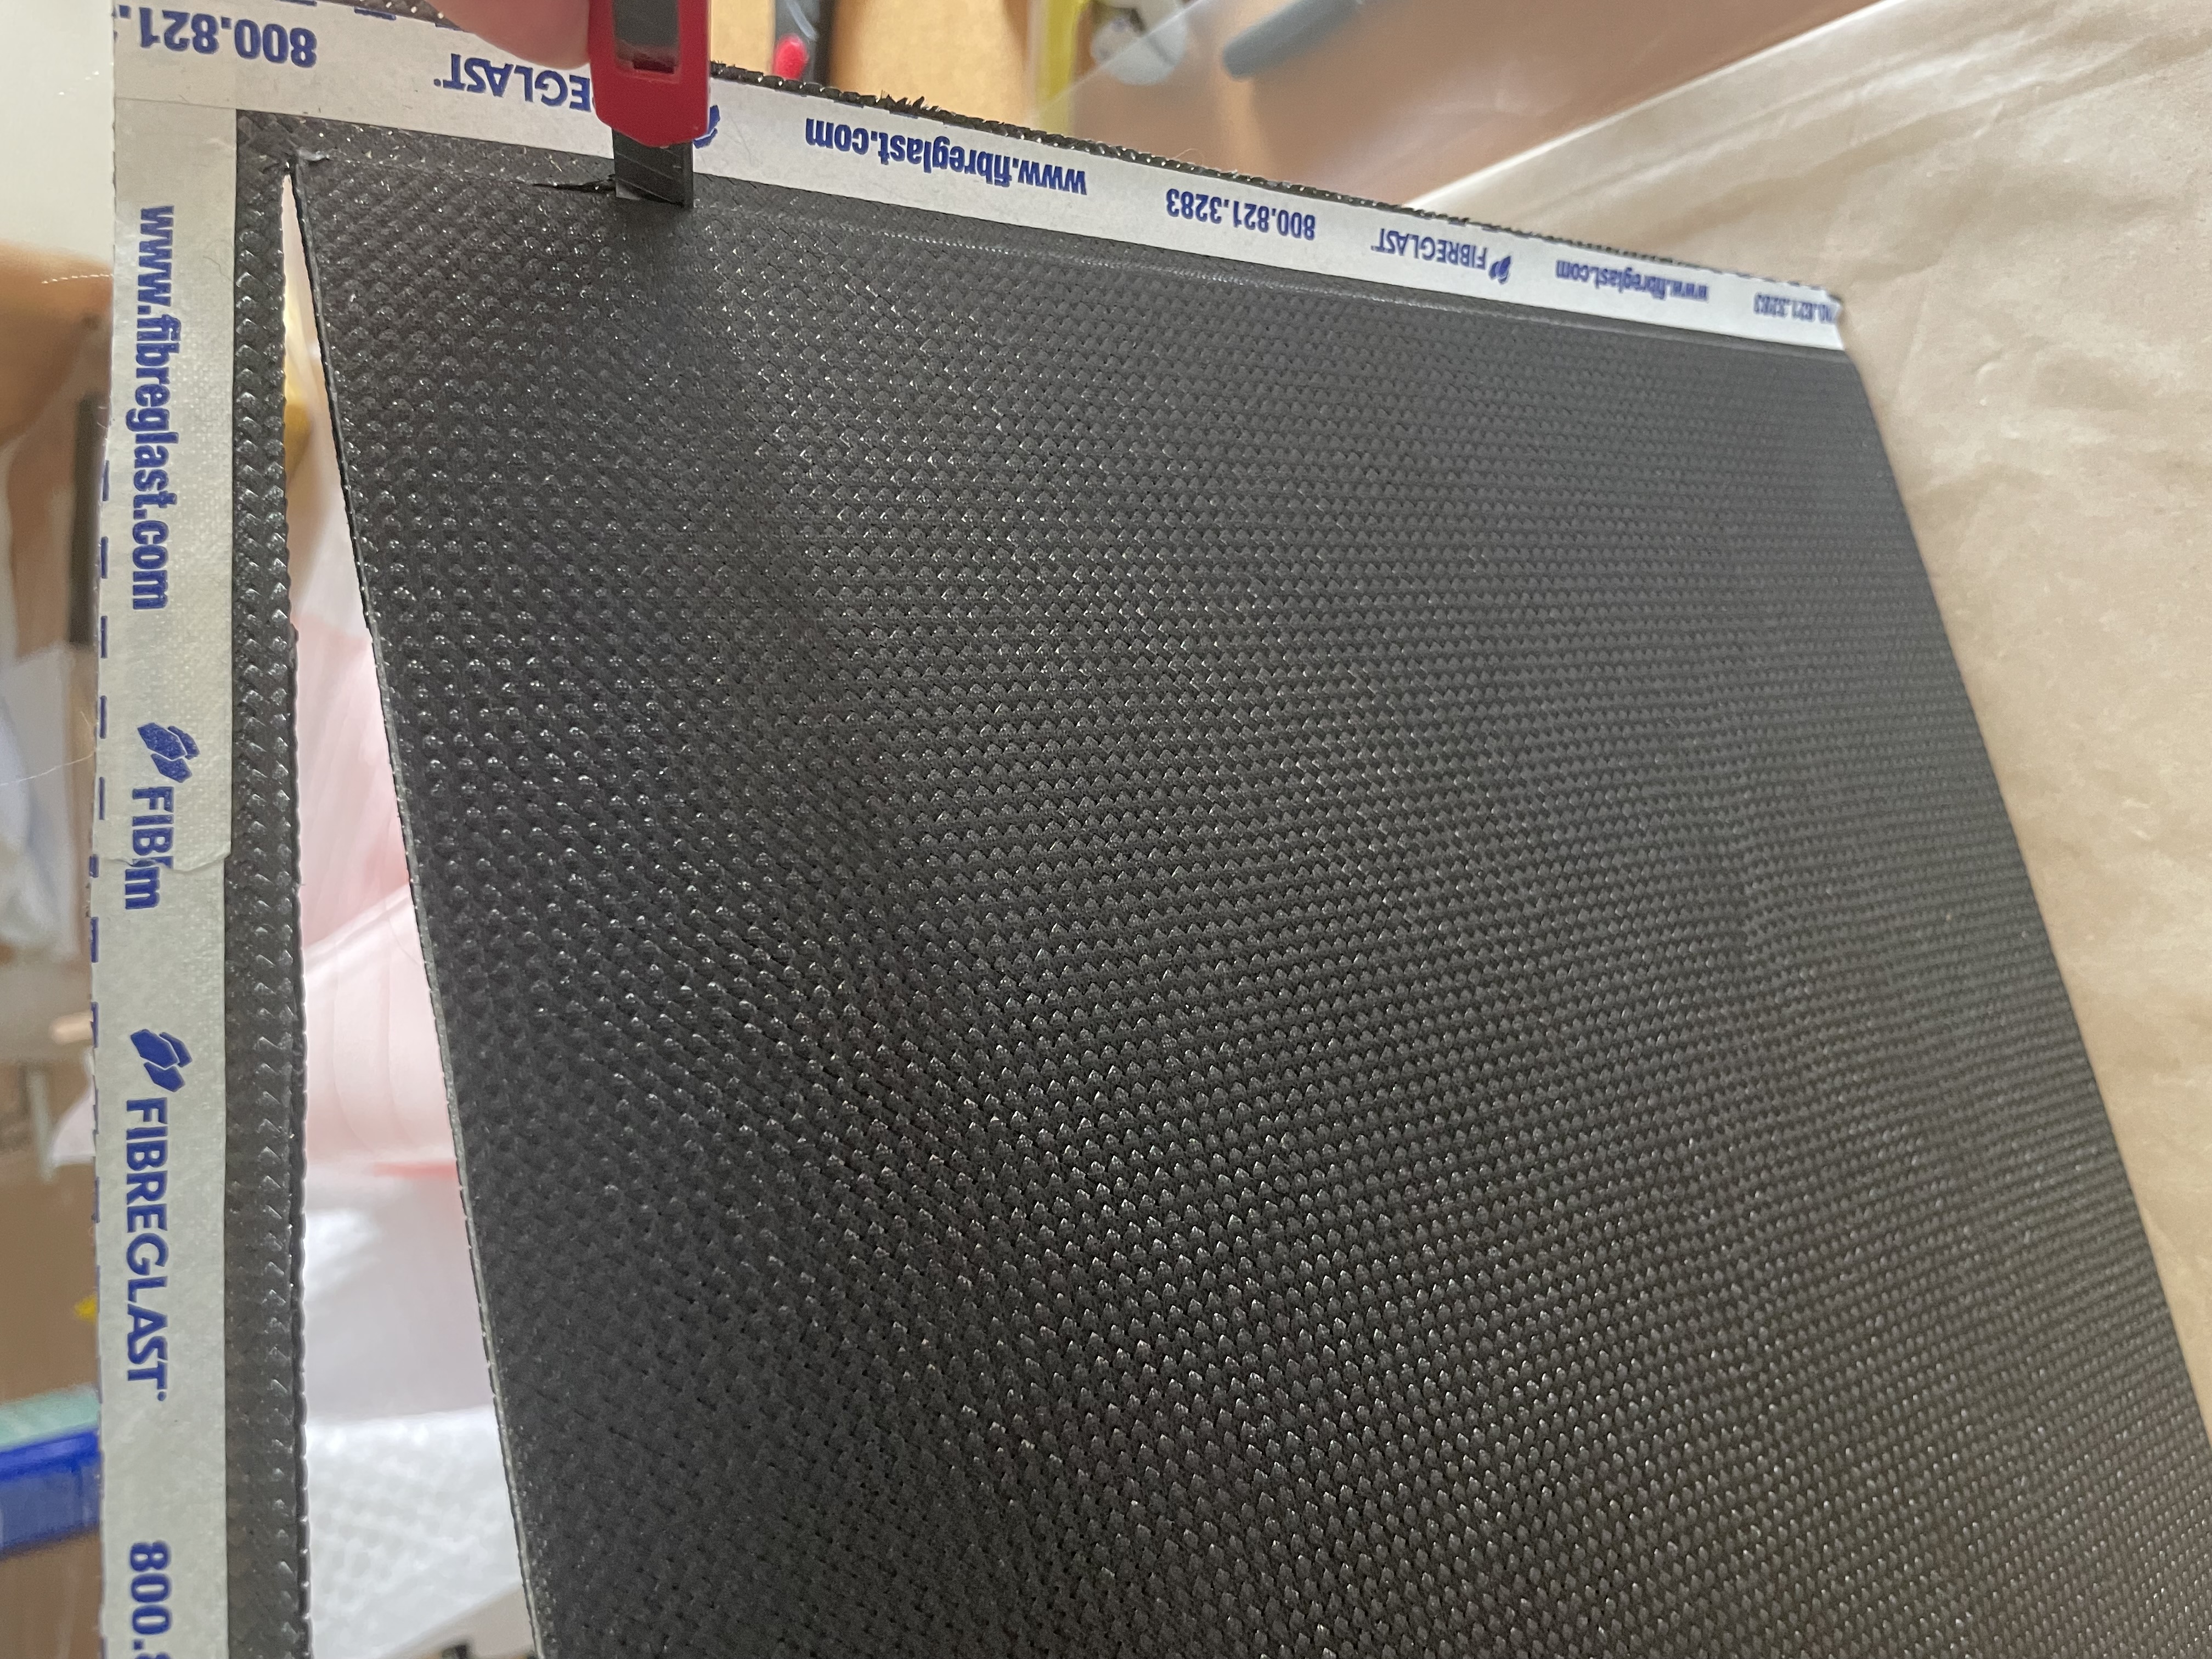
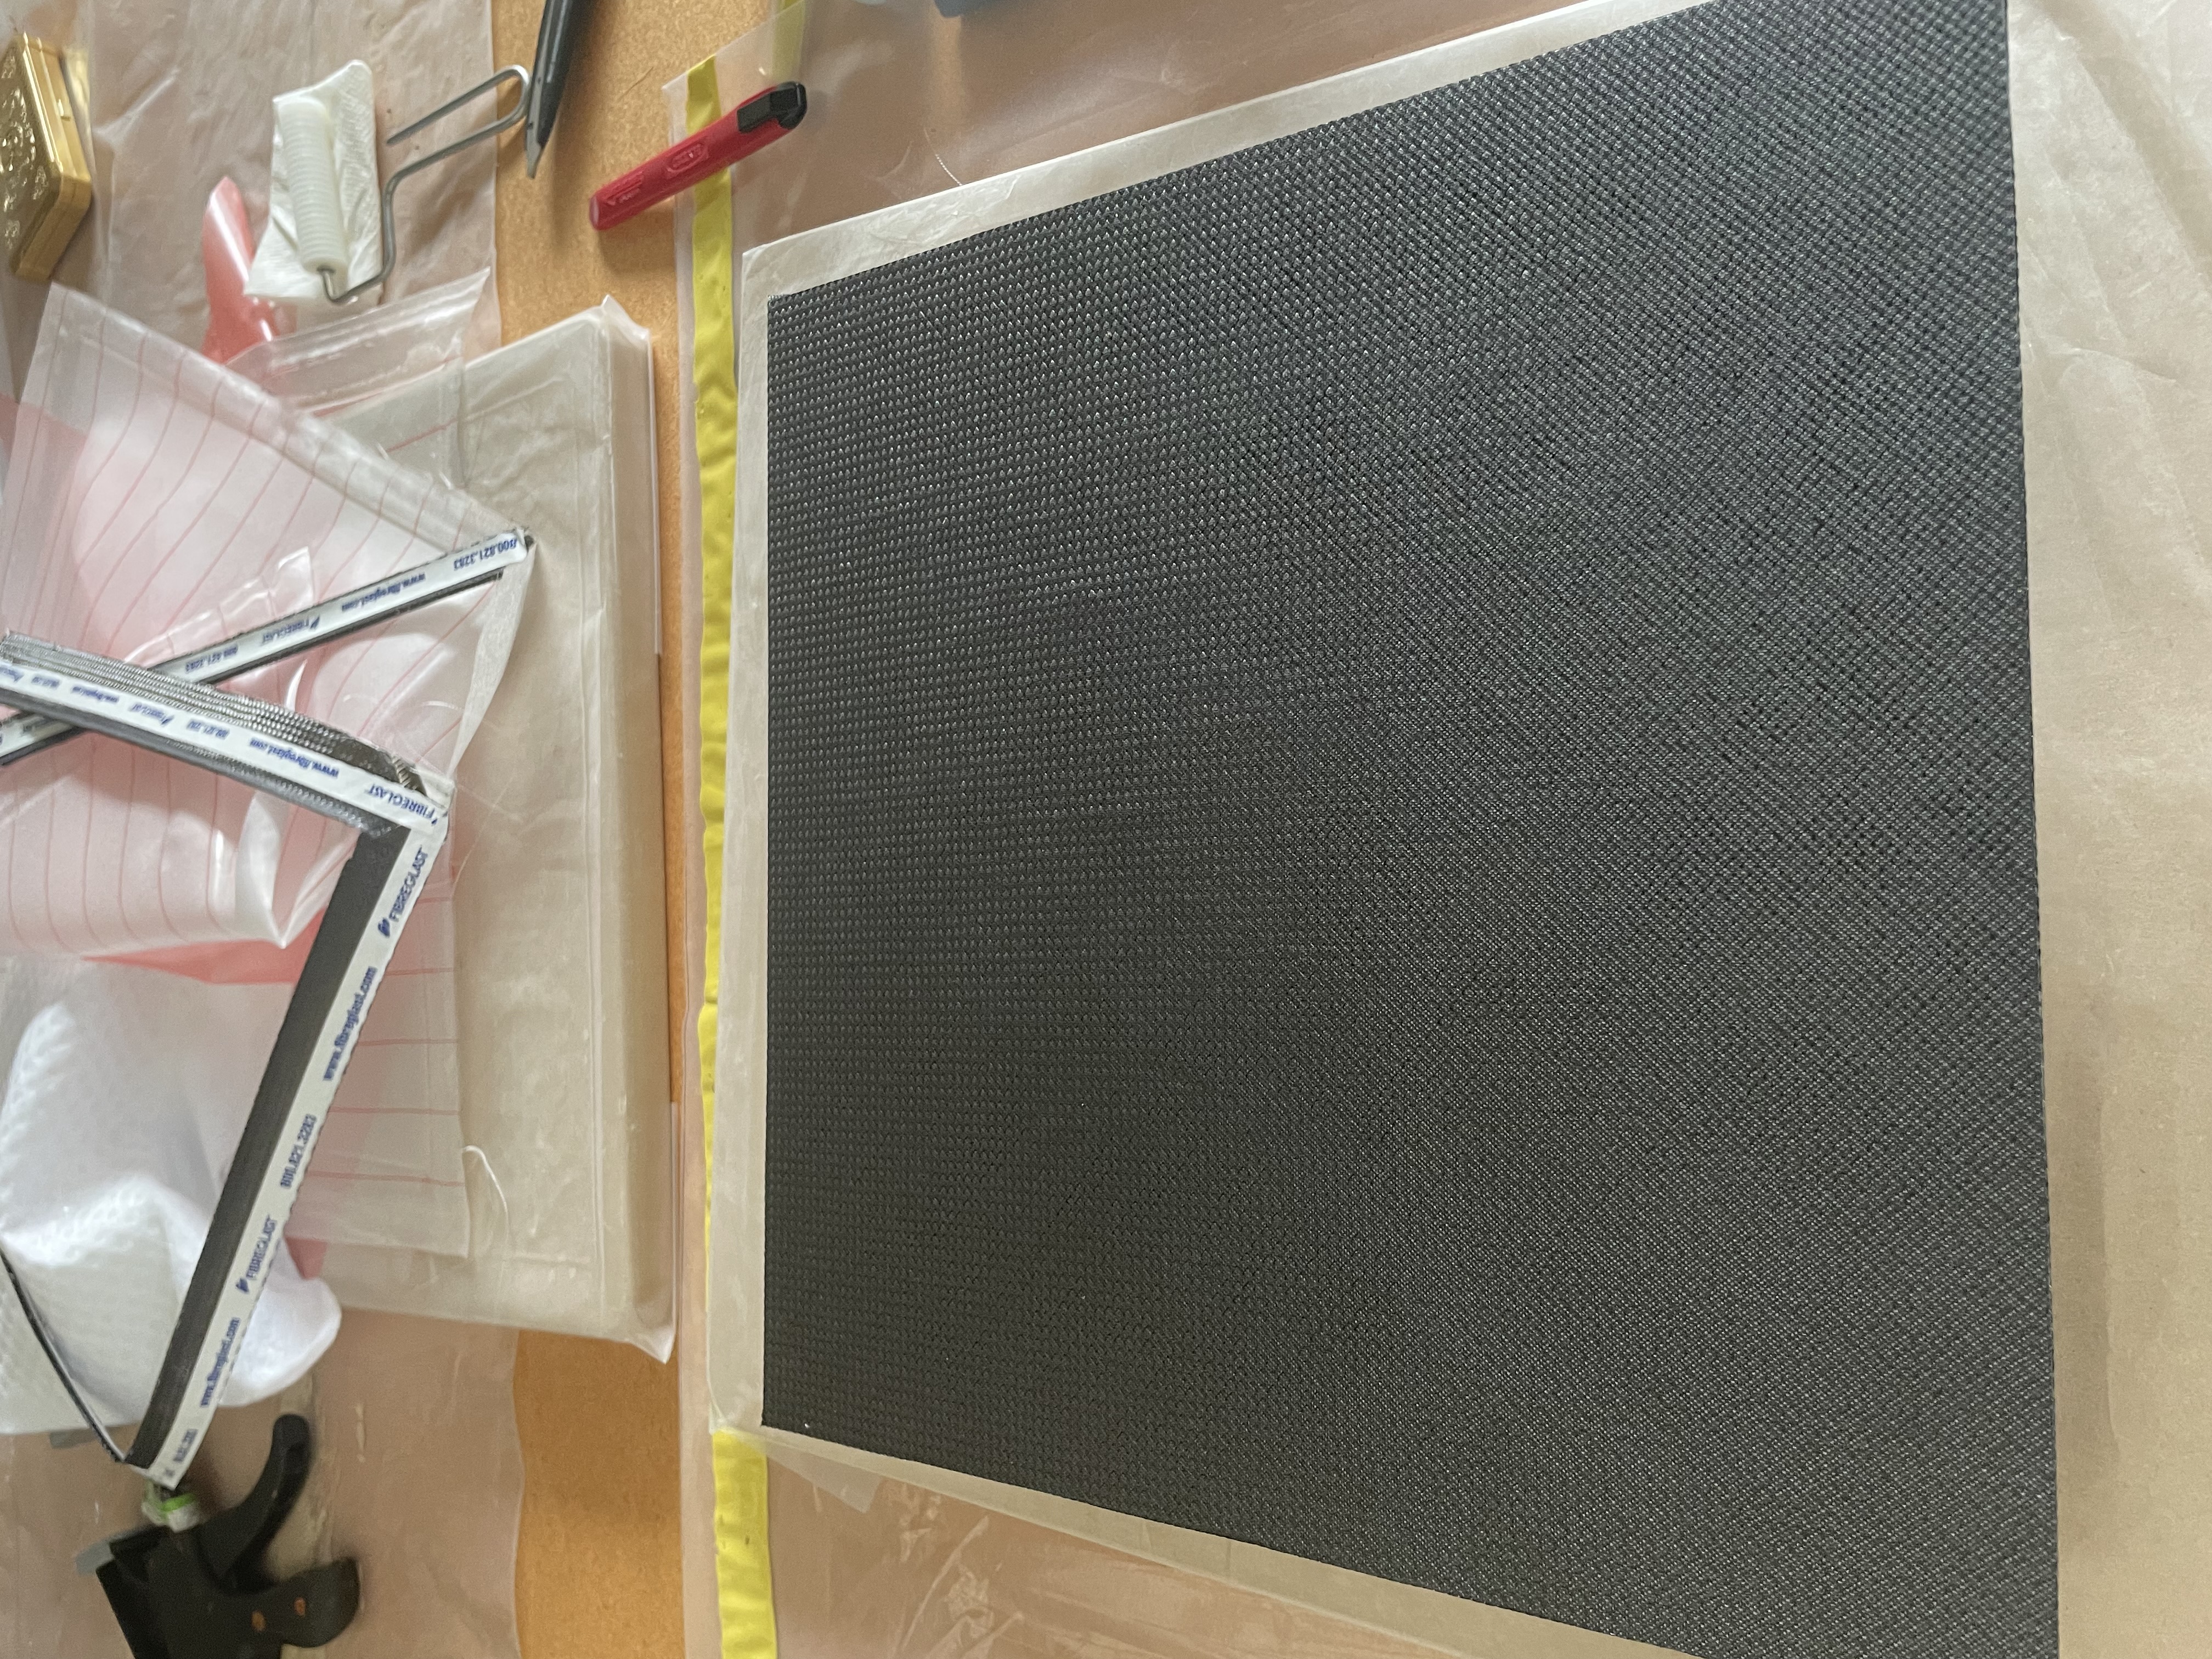
Now trim off the excess carbon fiber.

The vacuum pump setup I built.
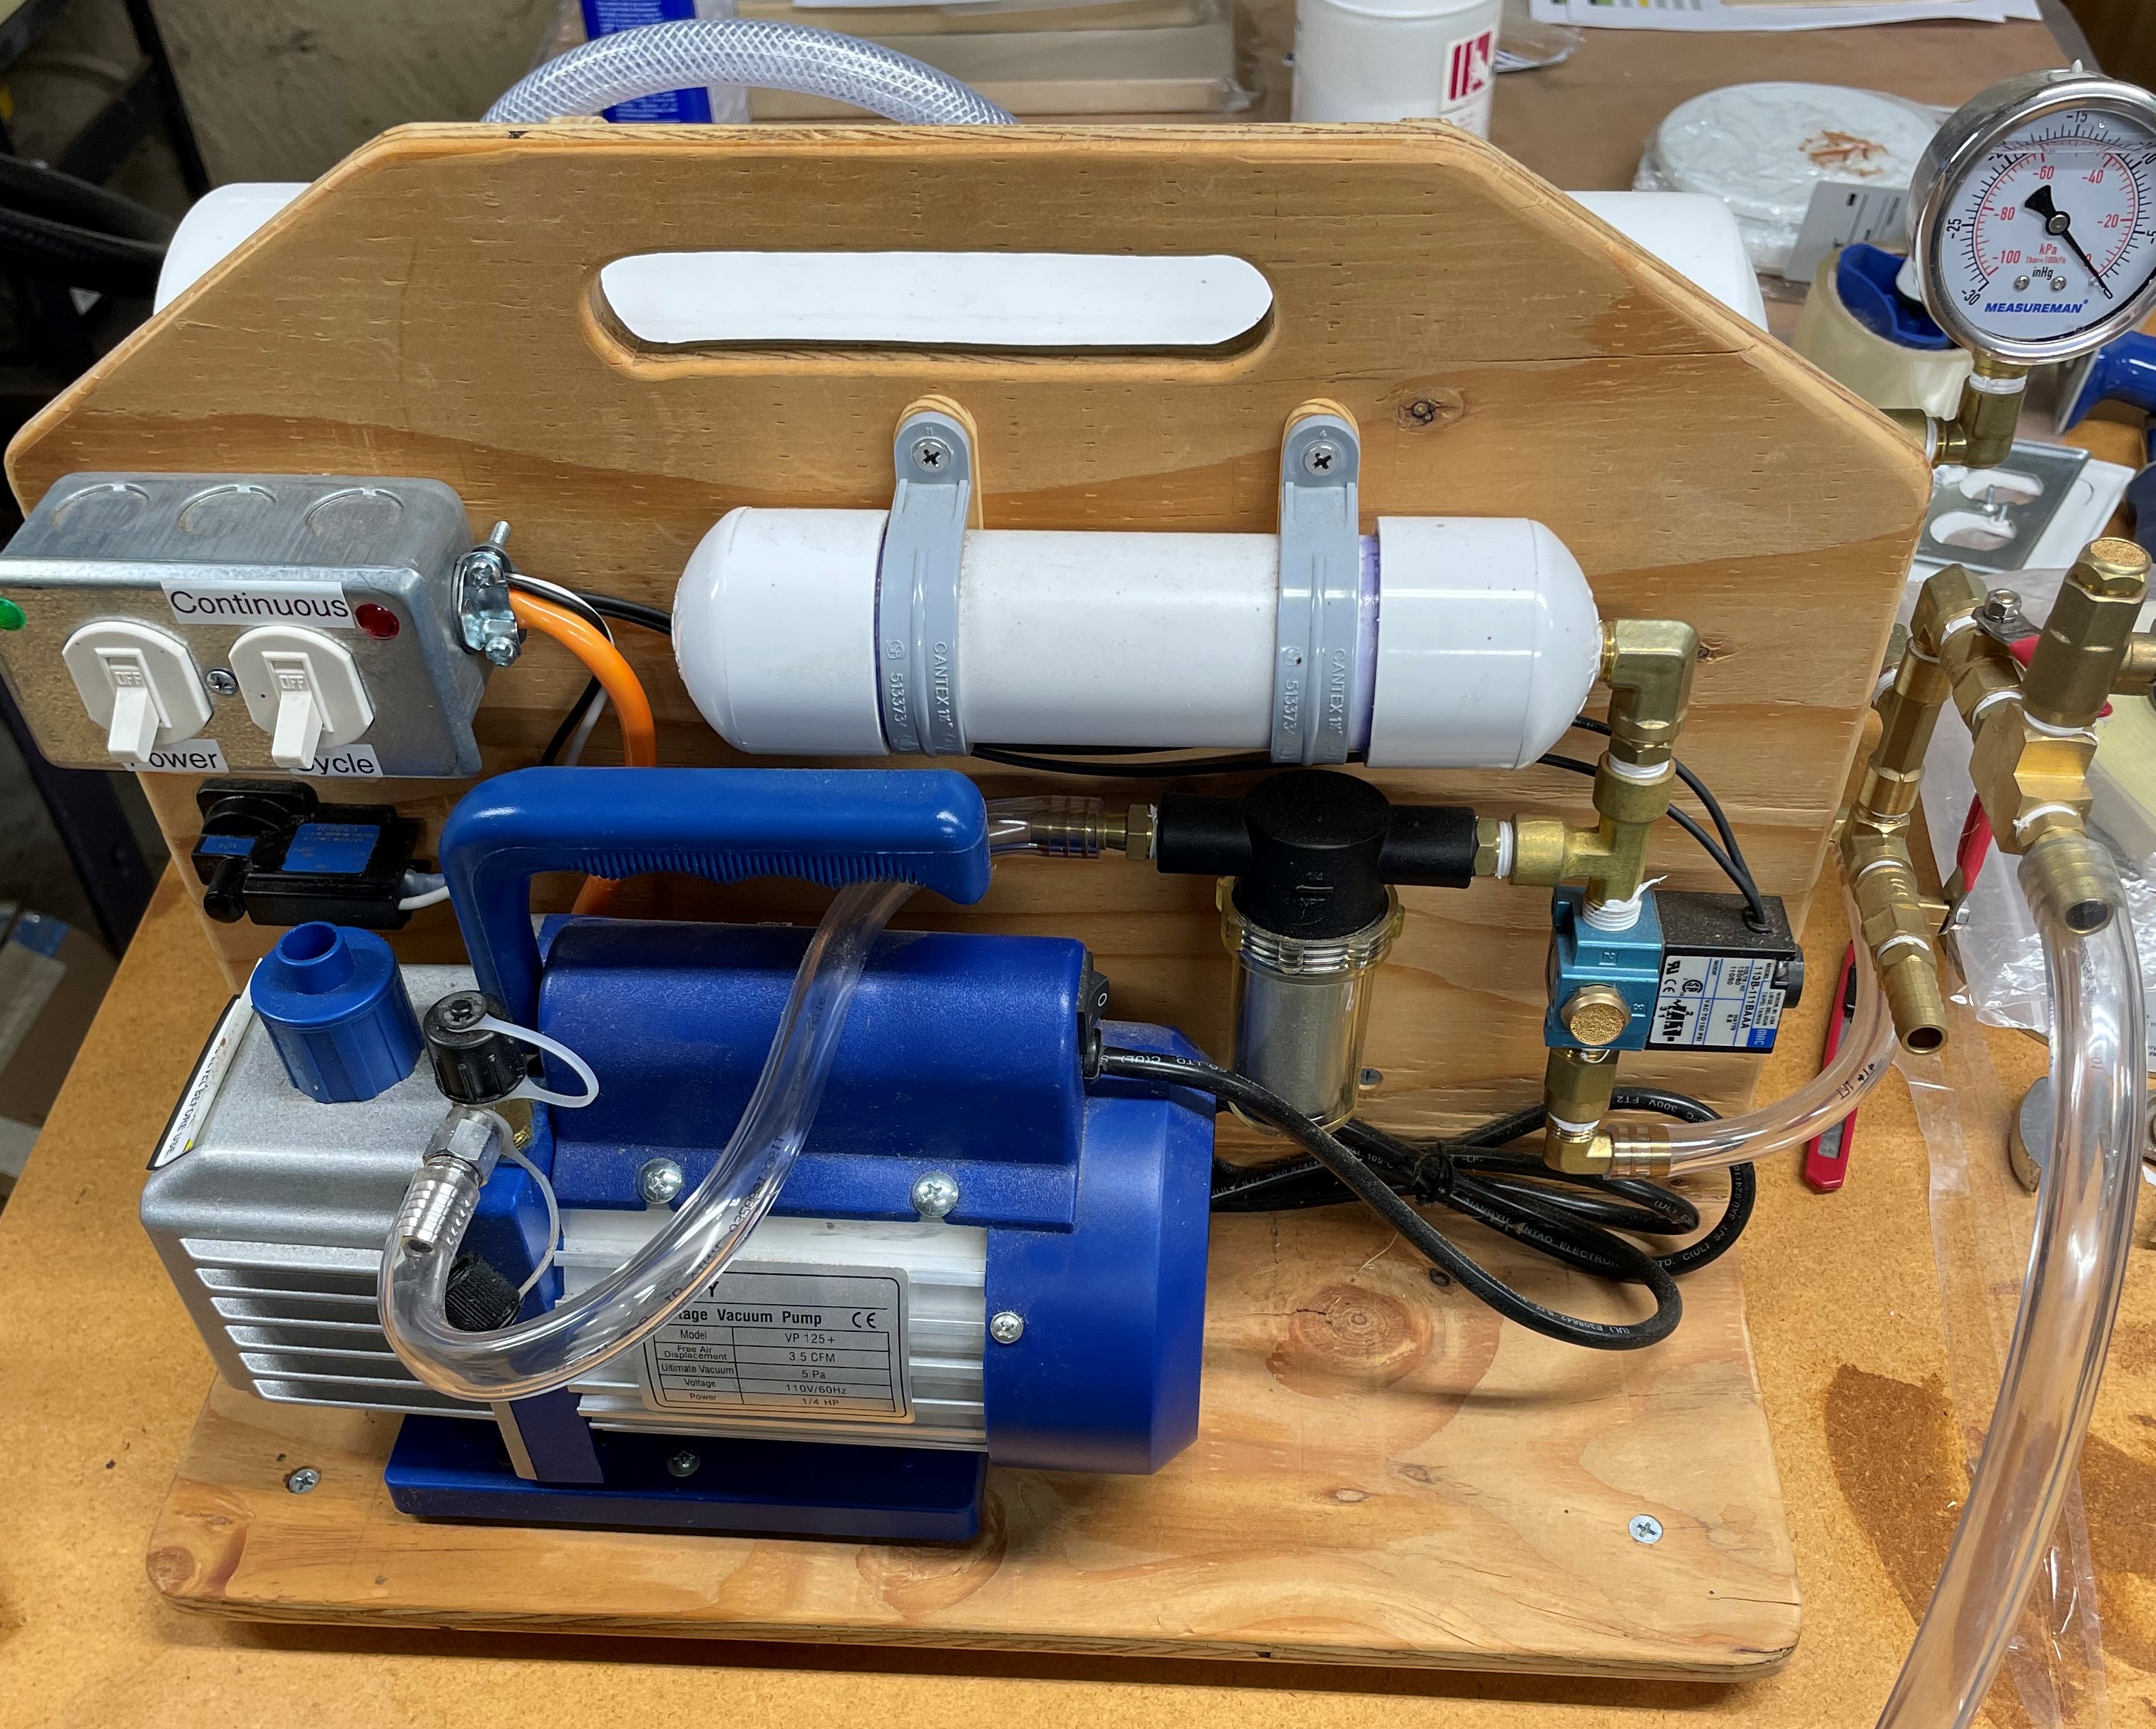
Check out my vacuum pump system page for more info and pictures.